I’ve decided that before I start too many more new model-building projects, I need to start working down the number of partially built models (of all varieties) that have been sitting on my workbenches and around the shop for way too many years now. That also extends to rebuilding/refurbishing the variety of planes I have that are built but unflyable due to condition issues. I inherited most of these and they are good planes but need work to be useable.
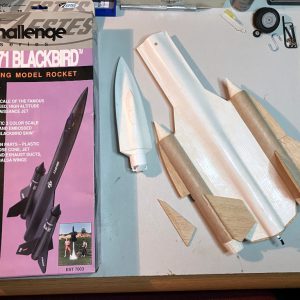
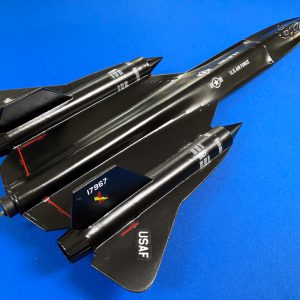
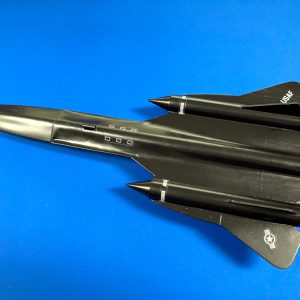
I figured I’d start this process off with an ‘easy’ one…a mostly built Estes SR-71 Blackbird model rocket that I started way back in the mid-late ’90s. I was living/working in New Mexico at the time I started this and it has made one cross-country and 2 house moves with me. Along the way, it collected a lot of shop dust and dirt, had 3 of the fins broken off, and totally lost a significant part of one of the side fins. I figured that the cleanup and fin repairs would be an easy fix. Then I would do a quick and dirty paint job on it, apply the decals (if they were still usable) and call it a day on completing this model rocket. Here is what the rocket looked like when I moved it onto my building workbench:
(Click on photos to zoom in on them)
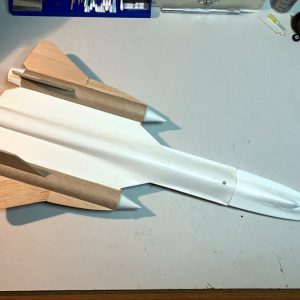
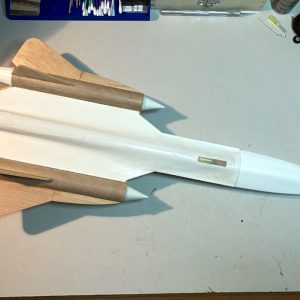
The fin repairs were very easy. Mostly just regluing the broken fins back onto the body tubes and using the good side fin as a template for cutting out a new fin to replace the missing one. Fortunately, I had plenty of 1/8″ balsa in stock so this was a no-cost job. After a short amount of work, here is what things looked like:
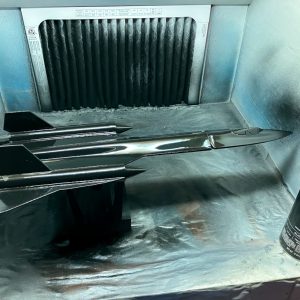
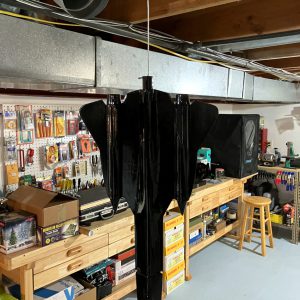
After some sanding of the balsa fins and a parts clean-up, it was into the paint spray booth. I was not going for any sort of contest finish with this rocket so I skipped the part where you fill the balsa wood grain and went right into primer then paint. I used a Krylon Colormaxx primer/paint rattle can for this part of the job. Combining the primer and paint shortened the painting time. The plans called for gloss black which I had in inventory so this was another no-cost operation!
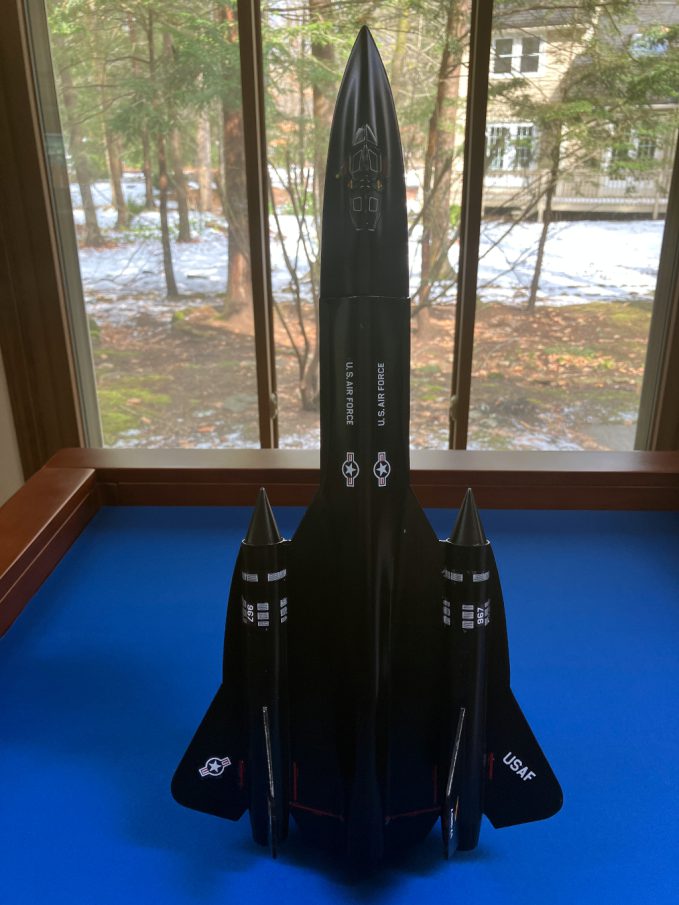
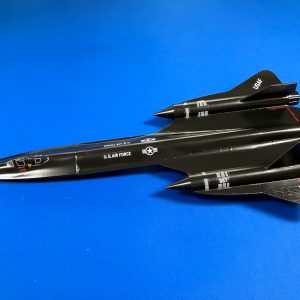
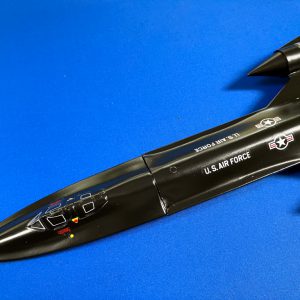
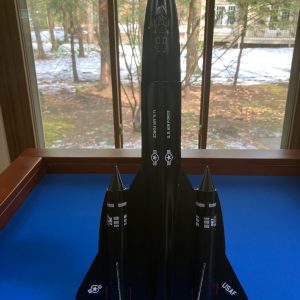
I gave the paint a couple days to set up and then began what became the longest part of the build, applying the decals. Given their age, I was not sure that they would work but I had no issues with them and the use of decal setting solution ensured that they’d stay in place. This part of the build proved to be the most time-consuming as there were quite a few small decals but they really proved to be what set this model off. Once all the decals were finally in place, I sprayed the entire model with a couple light coats of a satin finish clear coat sealer (also in my inventory). This not only added a layer of protection over the decals, but it also cut back the glossy shine of the paint and gave the model a more realistic-looking finish. And here is what the finished model looks like:
I am really quite pleased with the finished model. It will never win any appearance competitions but it does look good. And given how many years it banged around my workshop it ended up in very good condition and is ready to be launched at any time. Also, it proved to be a ‘quick’ build by my very slow building standards and it cost me nothing in the process. Finally, it is now displayed on an appropriate display shelf along with my other rockets and has freed up some space on my shop workbench for yet another model to go into the building queue!
BONUS CONTENT!!
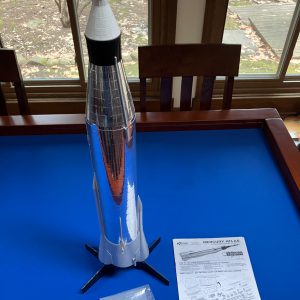
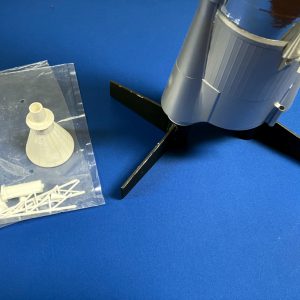
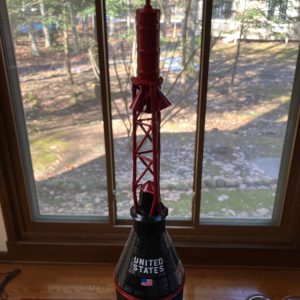
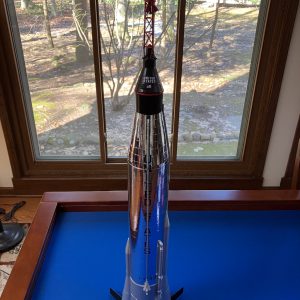
After I completed the SR-71, I noted that I had another rocket that was in the ‘Quickie’ completion category. And it was another 25+ year-old build that I had started in New Mexico. In this case, it was an Estes Mercury Atlas rocket that was on my display shelf and thus had avoided my initial inventory of projects to be completed. It was completely built up to the crew capsule but needed work from that point. The capsule needed to be cleaned, painted, and decaled and it needed to have the emergency escape tower built and added on top of the crew capsule. The entire rocket also needed to be cleaned, the dual parachute recovery system needed to be installed, the black fins needed to be repainted, and the rocket needed to be decaled. So, over the course of a few short days, I completed those tasks and took yet another project off my ‘To Be Completed’ list. And here is what the finished Mercury Atlas rocket now looks like:
I’m sure there are other ‘To Be Completed’ build projects lurking around my hobby areas for me to discover and knock off the list.


