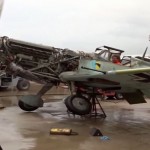
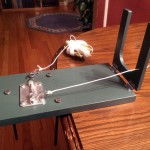
Over the past month, in between all the other events filling up my life, I’ve been able to make some on-again, off-again progress on the FW-190.
My last post ended with me mentioning that I was covering the wing with some vintage ‘SGM’ (Small Gas Model) silkspan. That was completed and then 4 coats of clear dope were applied over the silkspan. At that point, the wing was ready for mating to the fuselage.
(Click on photos to zoom in on them)
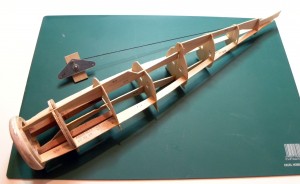
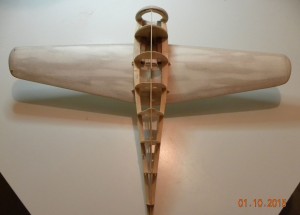
In between work sessions on the wing, I had also been working on the fuselage. It went pretty straightforward except that the instructions and plan sheet were very vague on the correct positioning of the hardwood engine mounts. I ended up glueing them in at the wrong longitudinal angle. That caused me to do some rework to the mounts and former near where the bell crank mounts. It also means I’ll have to add a couple washers under the front of the engine to prevent too much down thrust.
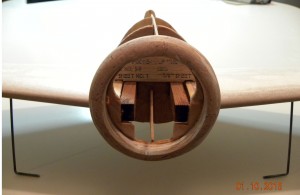
To date, the biggest work effort on the fuselage has been with the cowl ring at the very front of the fuselage. The cowl ring was made up of 16 individual pieces that were glued together to form 4 rings which were then laminated together to form the cowl ring. To say that the fit and finish of all these pieces was less than precise would be a major understatement. I’ve had to do a lot of carving, sanding, and filling to get the cowl ring to look anything like a cowl ring. More work needs to be done but you can see the current state of my efforts in the below photos.
My biggest concern at this point is how to fit a gas tank into the small compartment allotted for it. It would not be a problem except the tank will share this compartment with the bell crank and its mount. I still haven’t settled as to what size/shape tank I’ll need to get to fit into this small space.
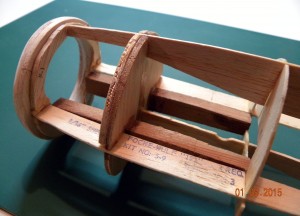
The right hand compartment needs to fit the bellcrank and mount as well as the fuel tank. Not sure how that will all fit!
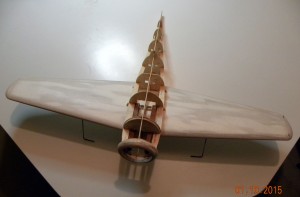
The mating of the wing to the fuselage went very smoothly and was considered a major milestone as the model is now starting to resemble an airplane.
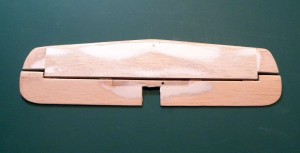
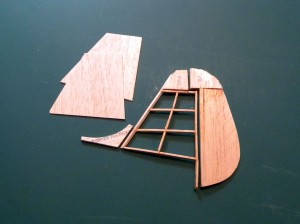
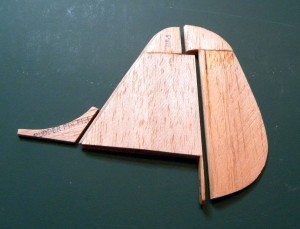
I had to stop work on the fuselage in order to build the stabilizer and elevator. These need to be added to the plane so that I can set the final position of the bell crank mount prior to planking the fuselage. Since I was working on the tail feathers, I included the rudder and vertical stabilizer. Like the rest of this model, these parts involved lot’s of cutting, shaping, filling, and sanding to get them to somewhat resemble the real airplane parts they are supposed to represent. More work needs to be done but you can see here the current state of my efforts.
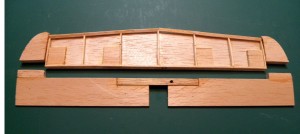
Elevator and horizontal stabilizer structure built before top sheeting and sanding. 4 rectangular pieces added inside stab to accept hinges.
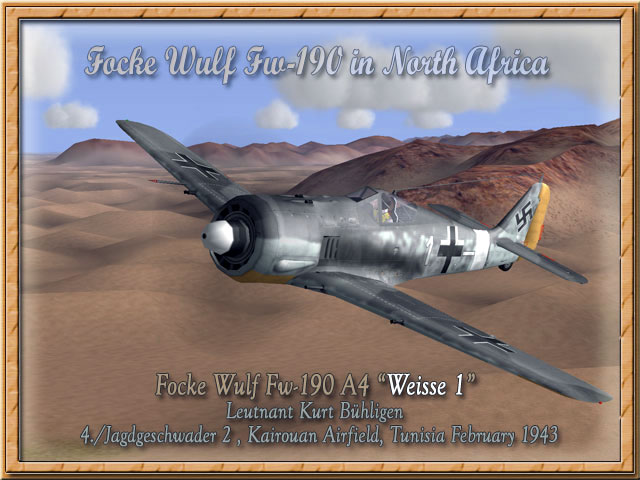
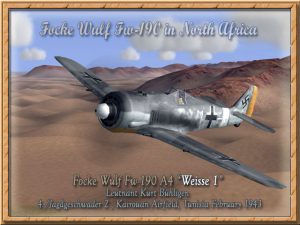
I have decided to fly the colors of Lieutenant Kurt Buhligen’s Focke Wulf Fw-190 A4 “Weisse 1”
Finally, I have decided on a color scheme for the plane. I wanted a scheme that was prototypical yet fairly easy to emulate. A fellow STARS club member loaned me a Focke Wulf 190 book and I found a scheme I like. I have decided to fly the colors of Lieutenant Kurt Buhligen’s Focke Wulf Fw-190 A4 “Weisse 1”. It is a basic gray cameo scheme with an orange rudder and orange on the underside of the engine cowl. We’ll see how my airbrush skills do with the cameo pattern!
Hopefully, by the next build report, I’ll be able to show you a plane that has all the major components added and is ready for covering and hardware.


