One of my friends, Joe Hahn, has gotten into 3D printing to the extent of even building his own homemade 3D printer. Joe and I have discussed several options for hobby related things that he could print on his 3D printer with the emphasis being on printing model rocket nose cones and full model rocket body tubes. During a discussion on free flight rubber band powered model airplanes, I showed Joe the plastic rubber band winder I used on my planes. Joe’s eyes lit up and he declared that he could print me one of those! The printing of the gears was of particular interest to him. So, Joe set out to design and build a 3D winder.
The gears proved to be very tricky and Joe went thru several prototypes. One of the advantages of 3D printing is the ability to quickly, and inexpensively, work thru several prototypes when designing a new item. Joe was making great progress when he discovered that a member of the DC Maxecuters Free Flight Club had already covered this ground before him. Joe proceeded to switch his printing efforts to the newly discovered design and what resulted is the winder shown in this FlyBoyz post.
Below is Joe’s description of how he printed the winder along with a description of the 3D Printer that he build for himself. His description is followed by photos of the completed winder and a video of the 3D printing of it.
I want to thank the member of the DC Maxecuters Free Flight Club who contributed this great 3D design. And, I want to thank Joe for all his efforts in printing me up this great winder. Joe and I had fun during the development and printing of this winder and I look forward to getting many happy winds out of it!
3D Printing a Free Flight Model Plane Rubber Band Winder
By: Joe Hahn
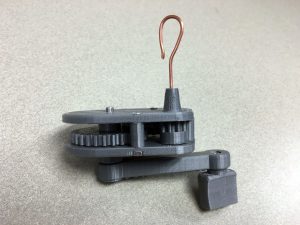
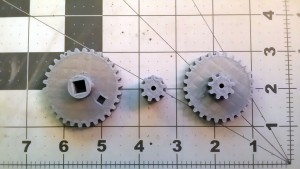
This is my attempt at 3D printing a wonderful rubber band winder for free flight model airplanes. It’s a great 3D model that I found on Thingiverse: http://www.thingiverse.com/thing:1043534. All credit to the creator of this functional model. When printed and assembled this winder has a 10:1 gear ratio, giving 10 windings of the rubber band for every turn of the handle.
I did the print in 3 separate runs. First print was the case top and bottom, that took 1 hour and 36 minutes. Next, I printed the 3 gears in 1 hour and 42 minutes. Then, I printed all the small parts; the arm for the winder, the drive pin that attaches to the gears and the handle and 3 spacers for the body, This took 2 hours and 12 minutes. I printed this over 2 days for a total print time of 5 hours and 30 minutes.
Also in that print was a unique free turning knob that attaches to the arm allowing a smooth rotation of the handle and fast winding of the rubber band. I say unique but we see this a lot in normal injection molded manufacturing, but for 3D printing, I thought that this was a wonderful addition to the device. The knob has a pin that is inserted into it and a bolt and nut is inserted into the pin and attached to the arm. The pin insert is locked tight in place by the bolt and nut, but the knob spins free around this pin.
I use Cura software as my slicer, the software that cuts the 3D model into layers for printing. The settings in the slicer vary the print quality. I had Cura setup for 15% infill, which means the parts are mostly hollow except the exterior layers. I use .2 mm layers. The material I printed this with was PLA, a thermoplastic made from corn starch, commonly seen in grocery stores as clear plastic containers for fruits like strawberries. Specifically, this filament was Solutech Grey. My heated nozzle was set to 220° C, and I had my heated bed set to 45°C.
I created this 3D printer based on the RepRap Prusia i3. The bed is borosilicate glass on an aluminum frame, with a silicone bed heating element below the glass. Maximum printing dimensions are 200mm x 200mm x 270mm. The Hot end, or Extruder, is a .4mm head direct feed mechanism, which just means the filament is fed to the hot end with a geared stepper motor. I am using a MKS Base v1.4 Main board with the Marlin firmware loaded.
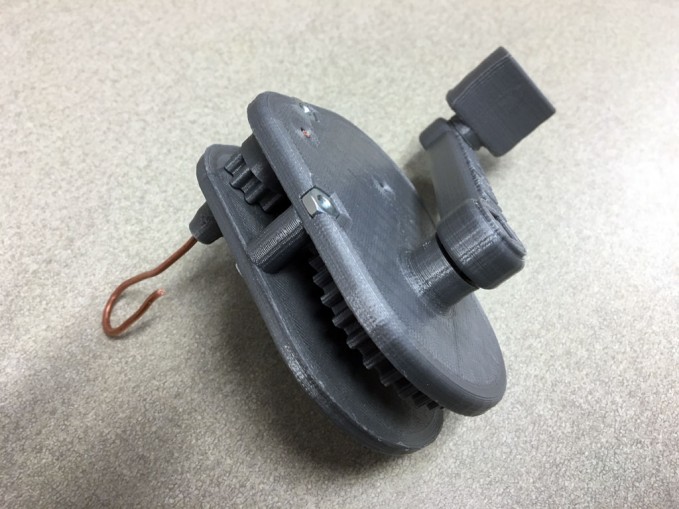
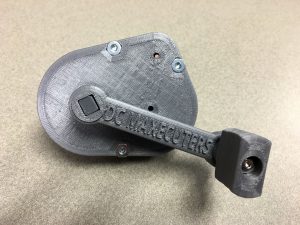
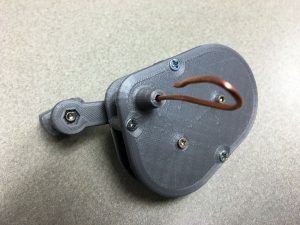
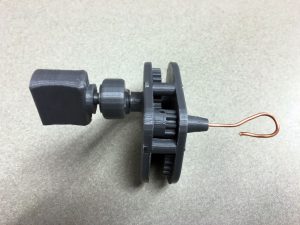
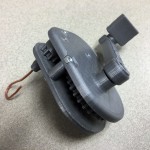
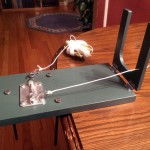
Several photos of the winder are presented here in an attempt to give a view of it from all angles. Also, one photo of the reduction gears prior to assembly of the winder is presented.
(Click on photos to zoom in on them)
Joe filmed the entire 3D print of the winder. He filmed it in 3 separate segments which have been combined here into one film. The actual 3D printing took 5 and 1/2 hours but Joe filmed it in a time-lapse mode so that the entire 3D printing of the winder has been compressed here into one 5 minute video (there is no audio of the printing). Enjoy the video!


