August 10, 2013 7:52:28 PM EDT
I just came back from my first work session on the P-40. Here is my report:
The goal of this restoration is to put the P-40 back together so that a ‘wrecked’ (i.e. crashed) plane can be displayed, it is not to restore it to factory new condition. Thus, new pieces/parts are made only for those that are missing and everything else is put back together as best they can be so that they all stay together! My task for this work session was to provide secure backing to a couple panels so that the original skin had something to attach itself to in order to be riveted to the fuselage. The panel then needed to be matched up to the surrounding pieces as good as could be and then the panel attached to the fuselage. No riveting was allowed today due to lot’s of visitors at the museum so my efforts focused on making the backing plates, positioning the panels, drilling them, and then using Clecos to attach them where they will be riveted to the fuselage. The original metal has been stretched, bent, cut, and torn so that positioning it as close to it’s original position as possible is actually very difficult. What I did doesn’t look like much but it was actually very time consuming. What you are looking at with the below photos is the result of 3 hours of effort on my part.
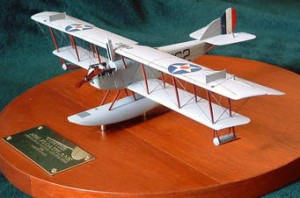
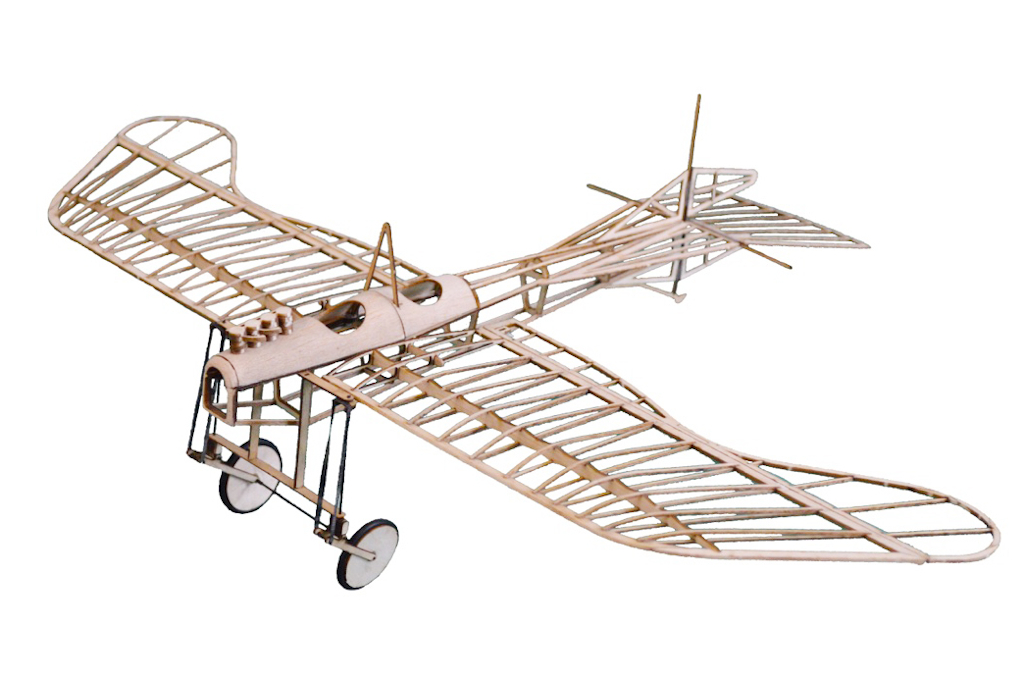
The rest of my trip was spent manufacturing 4 steel brackets to attach a pontoon to the fuselage of a 1929 Curtiss Fledgling Biplane Floatplane. Not what I went to the museum to work on but what they needed done for a public air show being held on September 14th during which the floatplane will be displayed. Here is a model of that plane:
There is a single pontoon under the center of the plane. You can see the 4 struts that attach it to the plane. I designed and manufactured the 4 brackets that attach these struts to the pontoon. Without those brackets, the pontoon won’t work and the plane won’t fly (off water).
Here are photos of my work on the P-40:
Right Side of fuselage (front to rear) with area being worked under wooden frame:
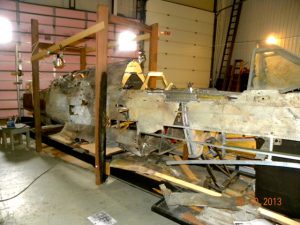
Panels I worked on (in center) – Before:
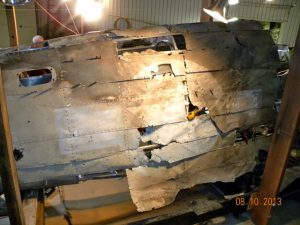
Top panel I worked on (in center) – Before:
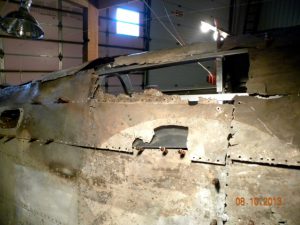
Top panel I worked on (in center) – After:
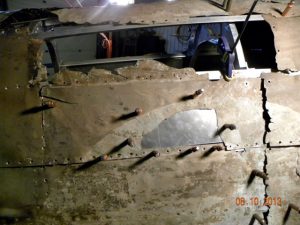
Bottom panel I worked on (in center) – Before:
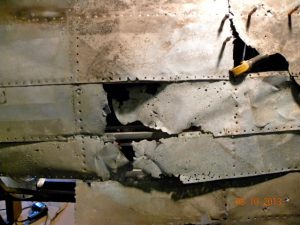
Bottom panel I worked on (in center) – After:
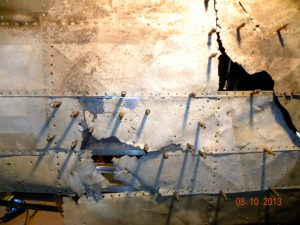
Panels I worked on (in center) – After:
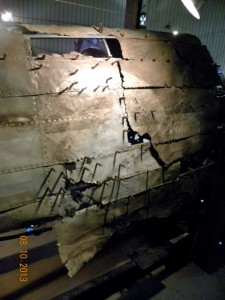
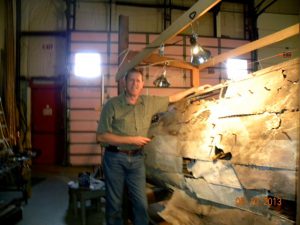
Me with P-40 (and Cleco pliers in hand):
