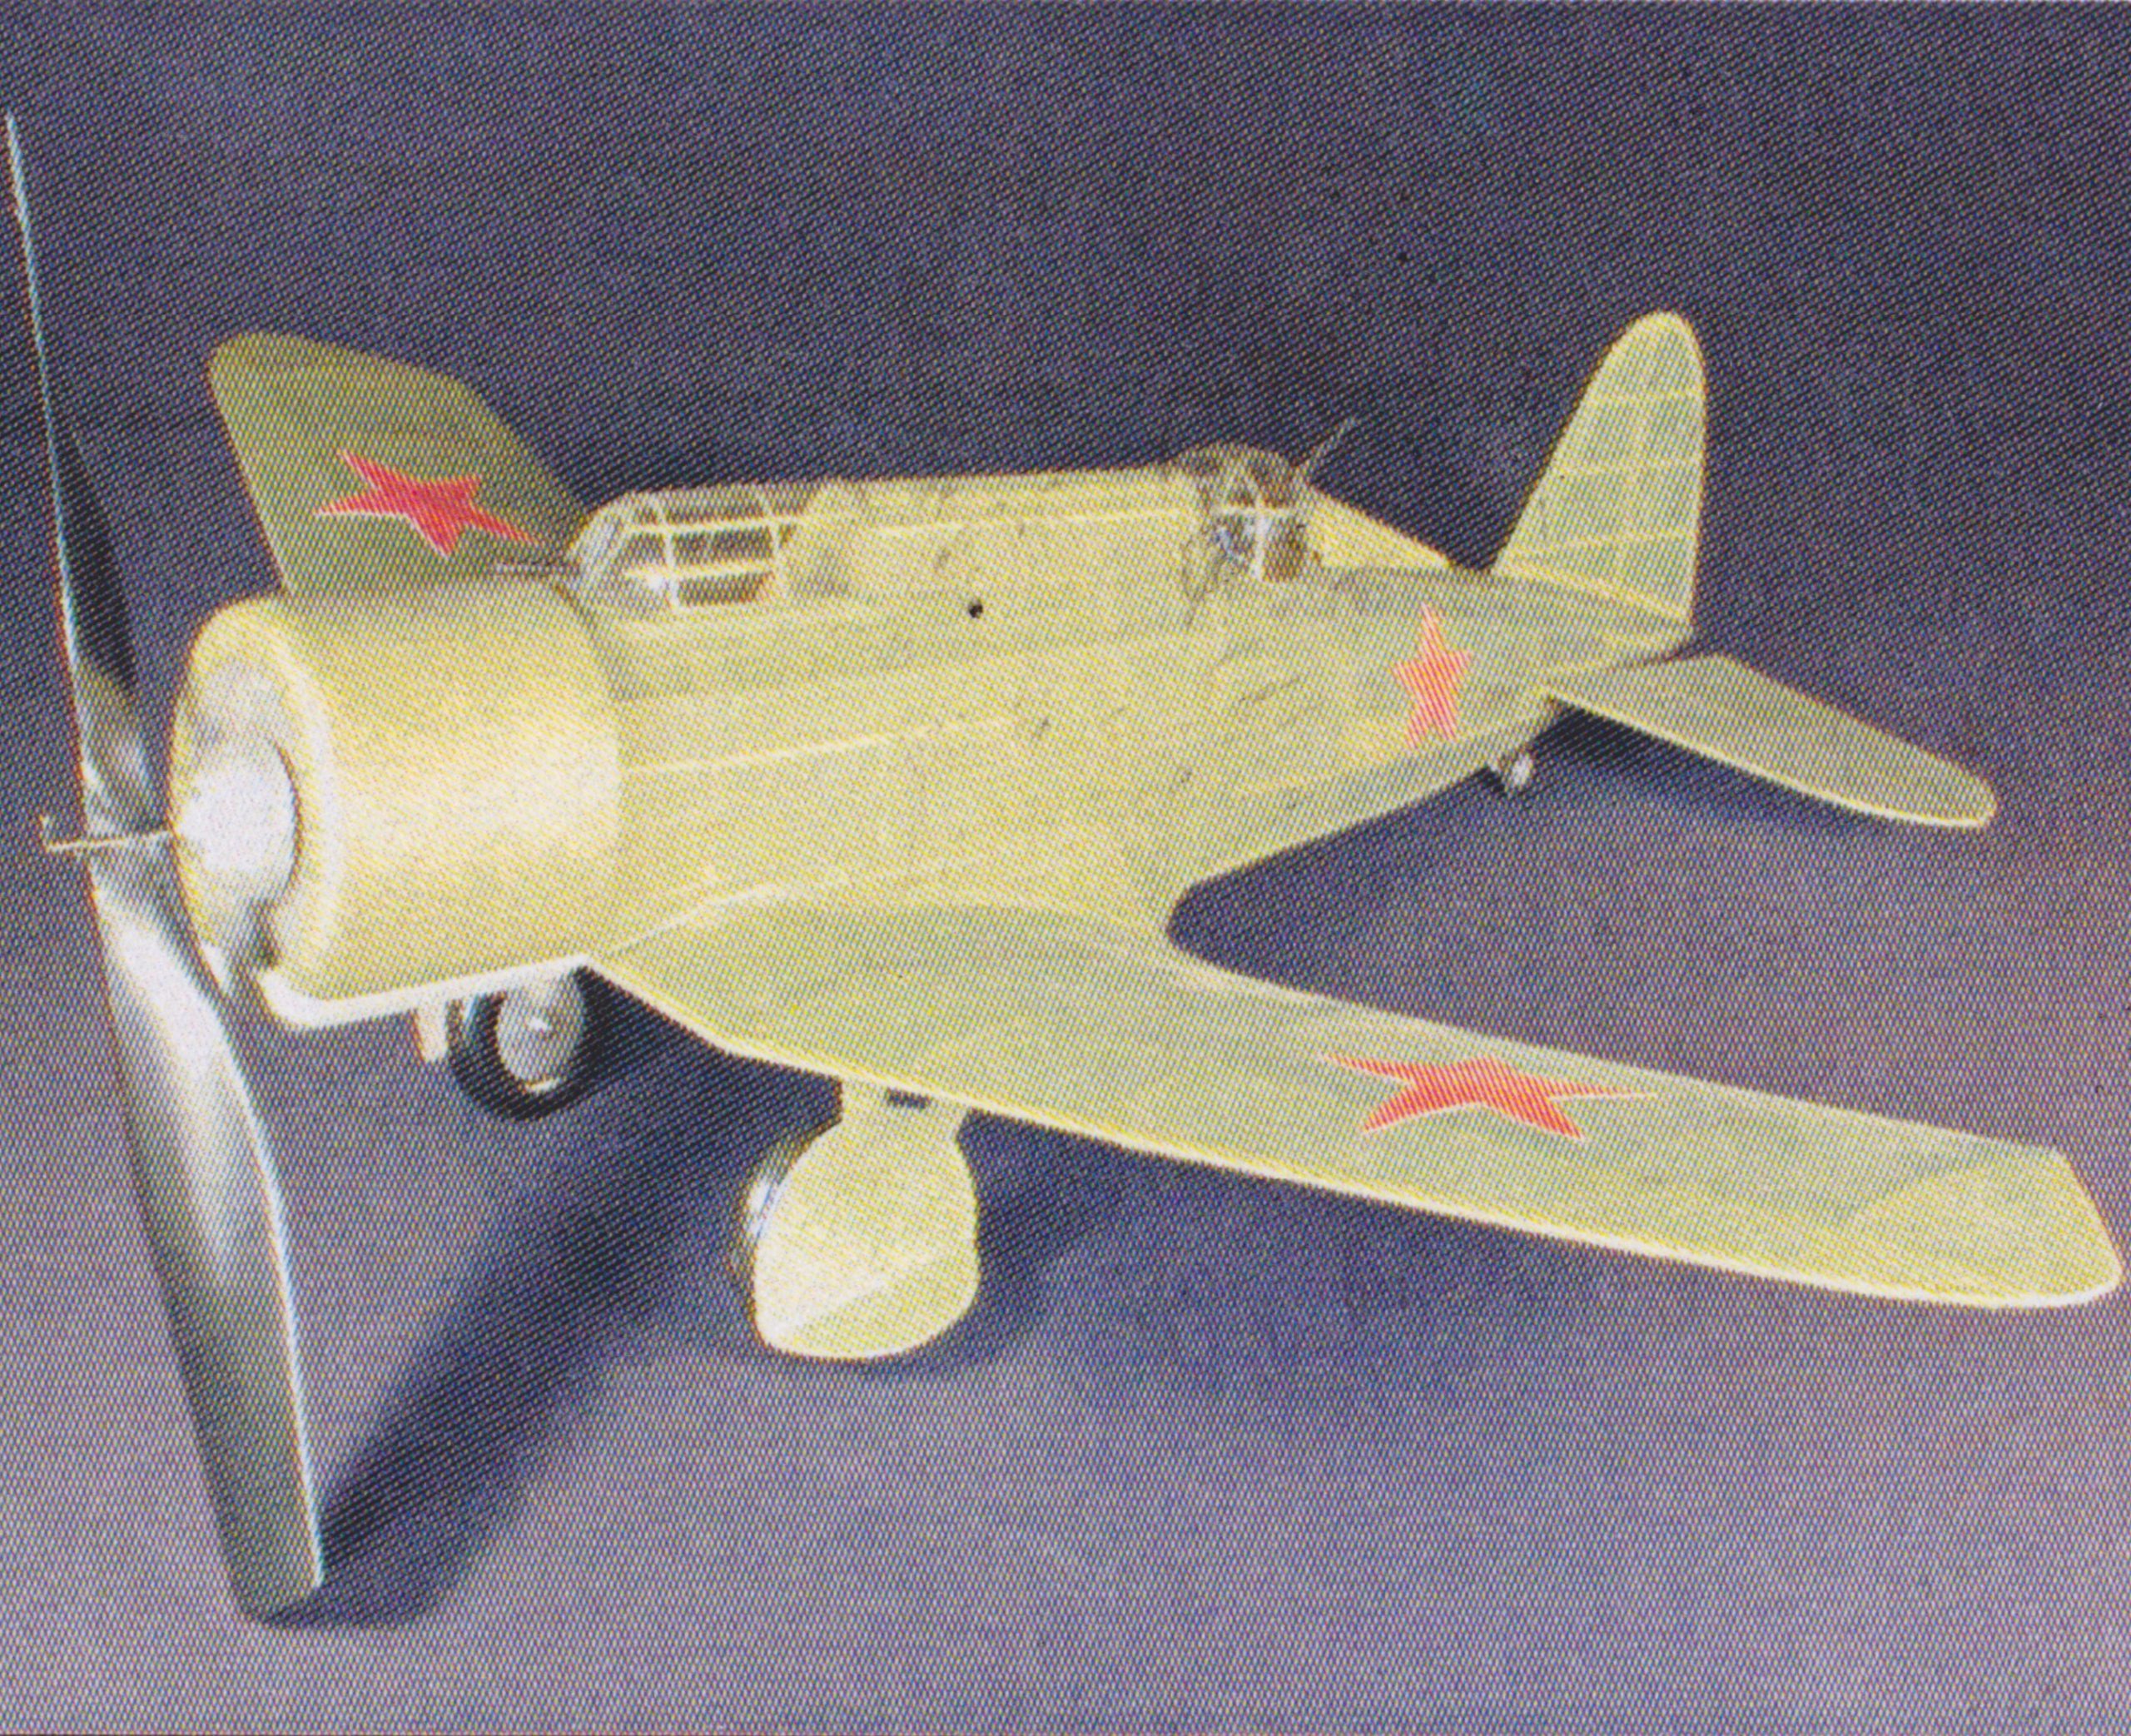
This build is driving me crazy! The more time I spend on it the less progress I feel that I am making!
In my last build post, I reported that I was done with structural construction and was ready for covering. Wrong! It turns out that I had not accounted for several additional items. These included:
- Adding 18 (small!) gussets that reinforce strategic places in the wing and fuselage.
- Making both the tail cone and rear turret fairing. This meant gluing together small balsa blocks then hand carving and sanding the parts to their proper shapes.
- More work was needed on the front cockpit and rear turret areas to get them ready for their respective canopies.
- Balsa sheeting needed to be added to each side of the rear fuselage then drilled for the rubber band hold down peg.
- The balsa wing saddles needed to be added.
- And finally, a couple stringers were added at the rear of the fuselage for use in alignment of the horizontal stabilizer.
NOW the plane was ready for covering! I used a new (new to me anyway!) covering process in this build and I like it. I plan to use it for future builds of smaller models of this nature. The process is faster than the dope method I used in the past and the results were much to my liking. The process is easy and straight forward. It consists of using a glue stick (UHU stic) to attach the tissue to the frame. After attaching the covering, then trimming the excess tissue from all the surfaces of a given structure, the tissue was lightly misted with water to shrink it. While the tissue was drying, I pinned the wing and tail feathers to the building board and this ensured that I had totally warp-free structures…a first for me! During this drying process, I also placed shims under the wingtips to add a bit of wash-out to each wingtip (critical to proper flight of a free flight airplane). This worked perfectly! Once dry, the covered structure was then sprayed with several light coats of Krylon Clear Satin spray paint (available at your local Walmart!). This results in a tissue covering that is tight, somewhat weather resistant, and that looks like it has a doped finish.
At the bottom of this post, I have included a short video, which I found that gives a pretty good illustration of the covering process. I used this video as a guide for my tissue covering.
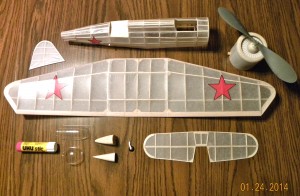
After applying and finishing the tissue, the red ‘TissueCal’ decals were added. These decals are actually made from colored tissue paper. They were cut out, applied to the surface with the glue stick, then sprayed with a couple light coats of the Krylon Clear Satin.
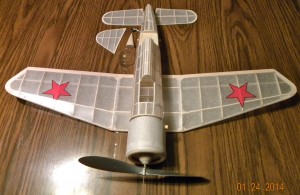
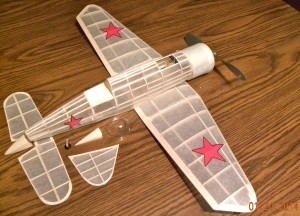
The photos below show the results after all the work that I outlined above was completed.
I am now ready (I think!) to begin the final assembly and finish work on the model. This will include attaching the wings, stabilizer/elevator assembly, rudder, engine cowl, and several detail parts including cockpit and turret canopies. the rear tail wheel, and the wing fairing’s.
One thing that I am not sure about with this model is how it will look from a color standpoint after final assembly. The model is covered with white tissue paper that represents the ‘winter’ color scheme that the real Russian planes were painted in. Therefore no painting of the model is required except for the engine cowl which is supposed to be silver. The issue here is that several of the detail parts including the tail cone, rear turret fairing, and the wing fairing’s are virtually impossible to cover with tissue and therefore will reflect the color of their native materials, i.e. balsa and craft paper. This will result in a model that has an ‘unfinished’ look from a paint/color standpoint. I’ll just have to see where I go with that issue.
At this point, I am starting to feel a little confidence…but not 100% confidence…that I will have this model completed for the Syracuse Model Aircraft Forum And Indoor Fly In next Saturday, Feb.1. The plane will be ‘done enough’ to display but it may lack a few finish parts or steps. And as far as being ready for a maiden flight at the show?…well, that really remains to be seen!
Here are photos of the plane assembly as it currently stands:
(Click on the photos to get a large image with higher resolution)
Covering a model airplane with tissue (video)


