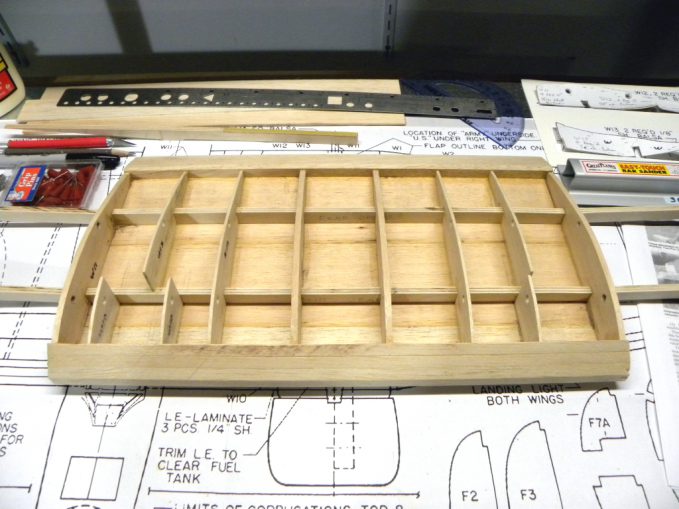
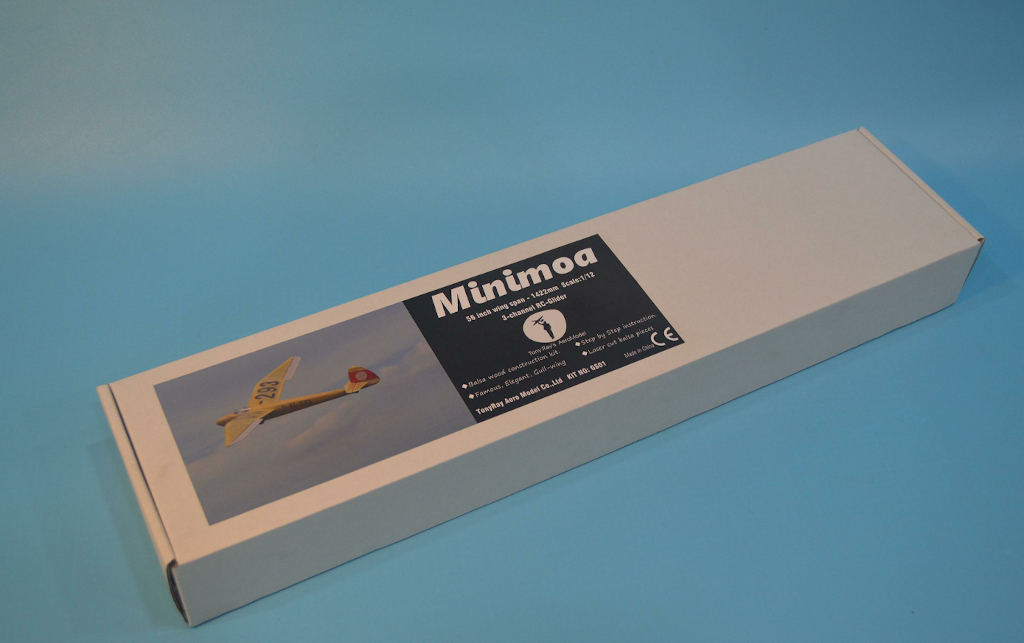
In between work on building my Minimoa glider, attending IVSM, and trying to get in a little model flying as the weather allows, I have been making some preliminary progress on the Martin B-10 Bomber. To date, I have completed the first stage of work on the wing center section and that is what this FlyBoyz post will focus on.
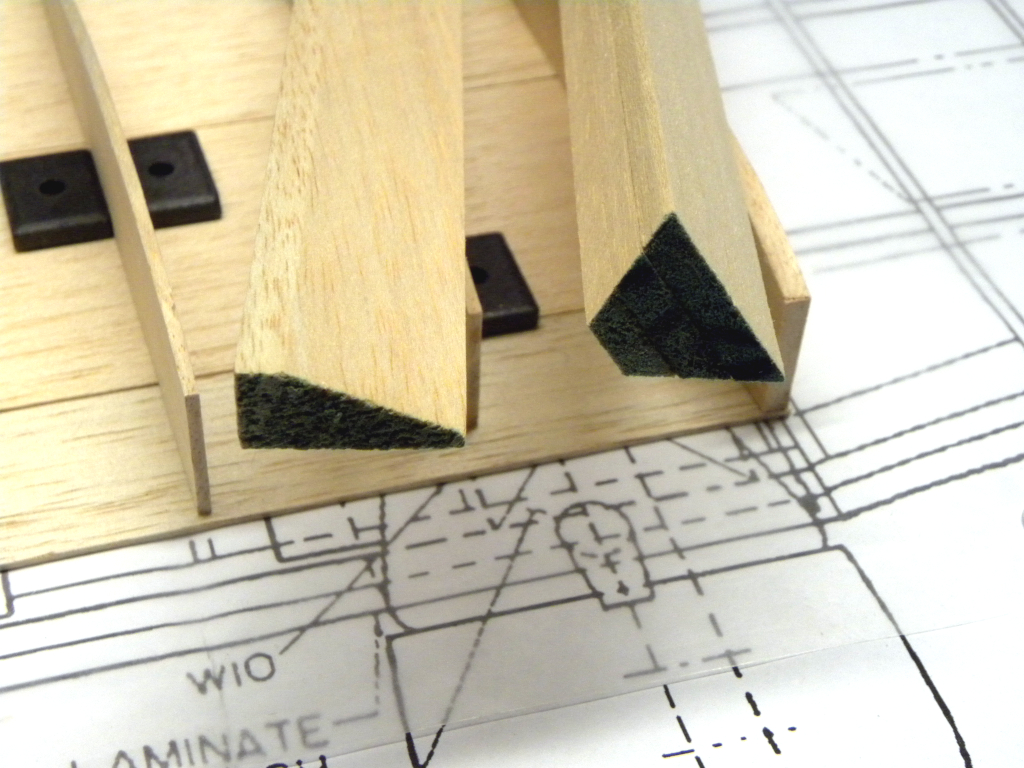
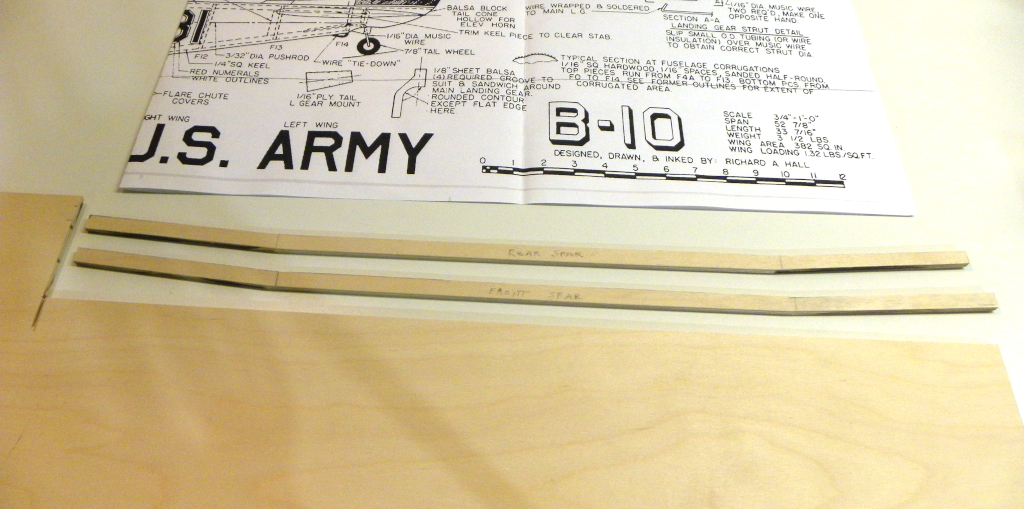
Let me start out by saying that I know this will be a different kind of build for me as I have never used woodworking machines before to build a model plane! To cut the 1/4″ thick plywood wing spars, I actually used a combination of my table saw, compound mitre saw, and hand held jigsaw! I’m fortunate to have that equipment otherwise cutting the 28″ long spars would have been a bit of a chore. While I was at it, I also used the table saw to cut the leading and trailing edges to shape.
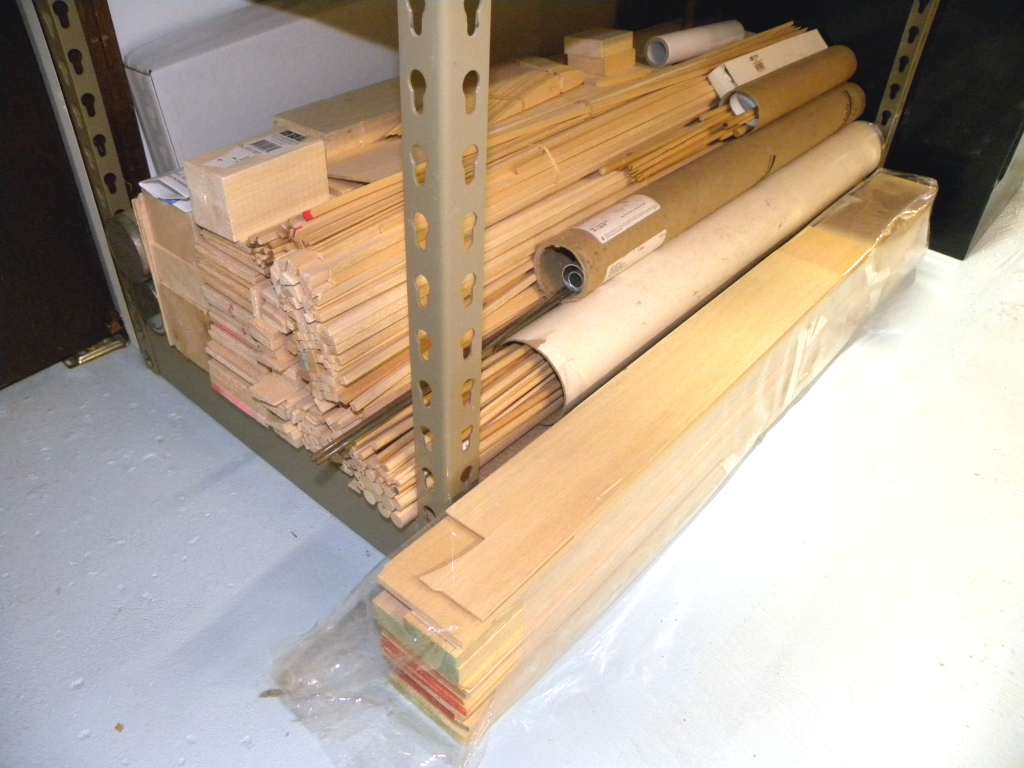
Since my original post on the B-10, I have been asked several times what I’m doing for balsa wood. It is my hope that this build can be supplied entirely from my balsa inventory. I am very fortunate for this inventory given current balsa prices. Here is a photo of my current balsa inventory. So far, I have used wood from the front package seen in the photo. That balsa package was purchased a few years ago on eBay. It is proving to be of good quality and is graded for weight. For the wing spars, I purchased the one and only sheet of 1/4″ aircraft grade plywood that my local hobby shop had in stock.
(Click on photos to zoom in on them)
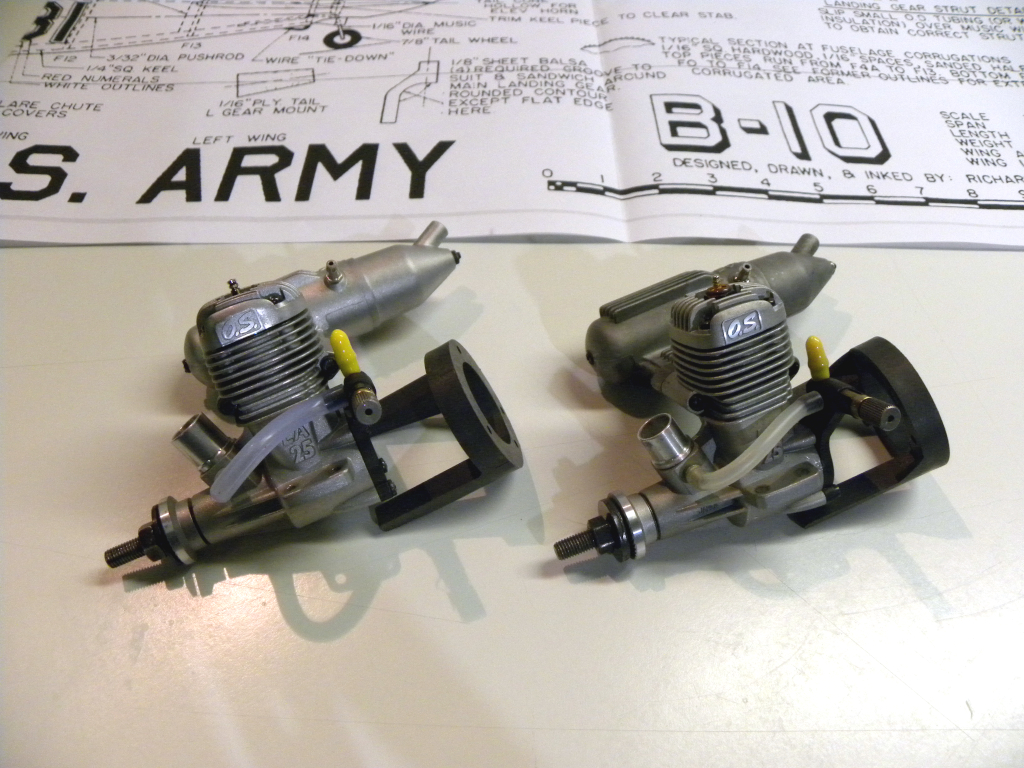
For this build, I am also focusing on gathering from my personal inventory the parts and components needed for the build. I am very pleased that to date, most everything has come from my inventory. And that includes matching O.S. Max LA .25 engines (and mounts) which I have decided to use as a replacement for the two Fox .35’s called for on the plans. Both O.S. engines are used but they have been fully cleaned, restored, and are ready for installation. I do intend to run them a couple times before the actual installation to ensure there are no problems with them.
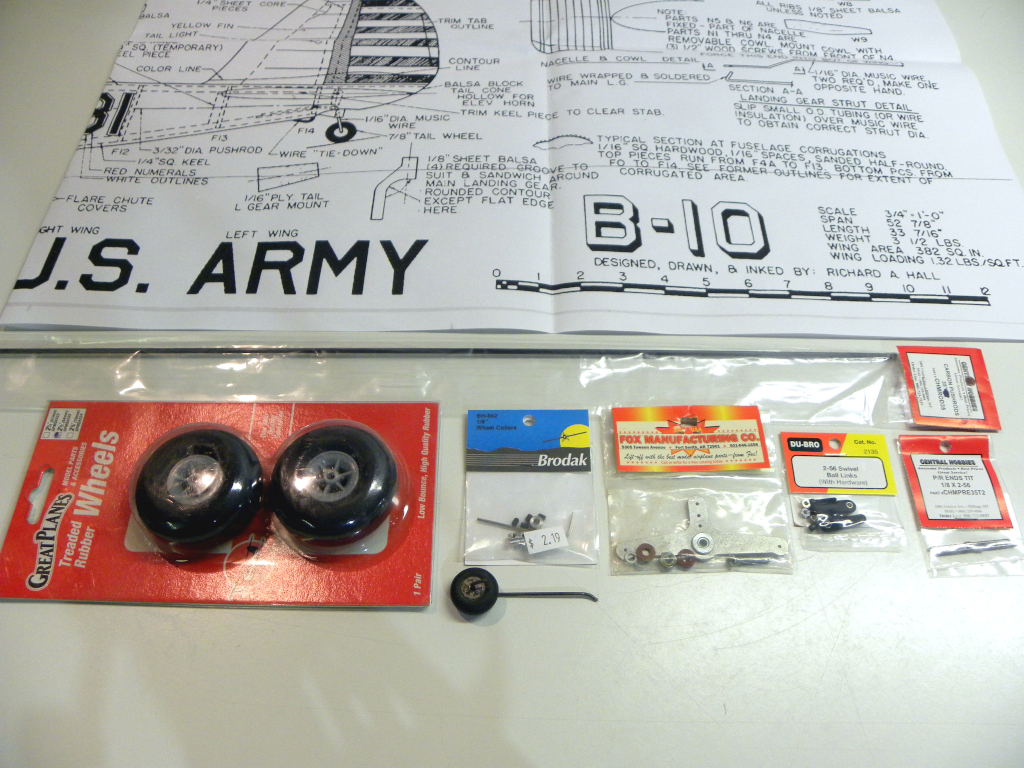
I am sure that I will be securing more parts as the build progresses but so far I’ve been able to supply most everything seen in this photo (the rear tail wheel needs to be cleaned and the landing gear wire replaced). I did purchase the carbon rod, inserts, and ball ends all to be used for the pushrod. The use of these particular pushrod components is all new to me.
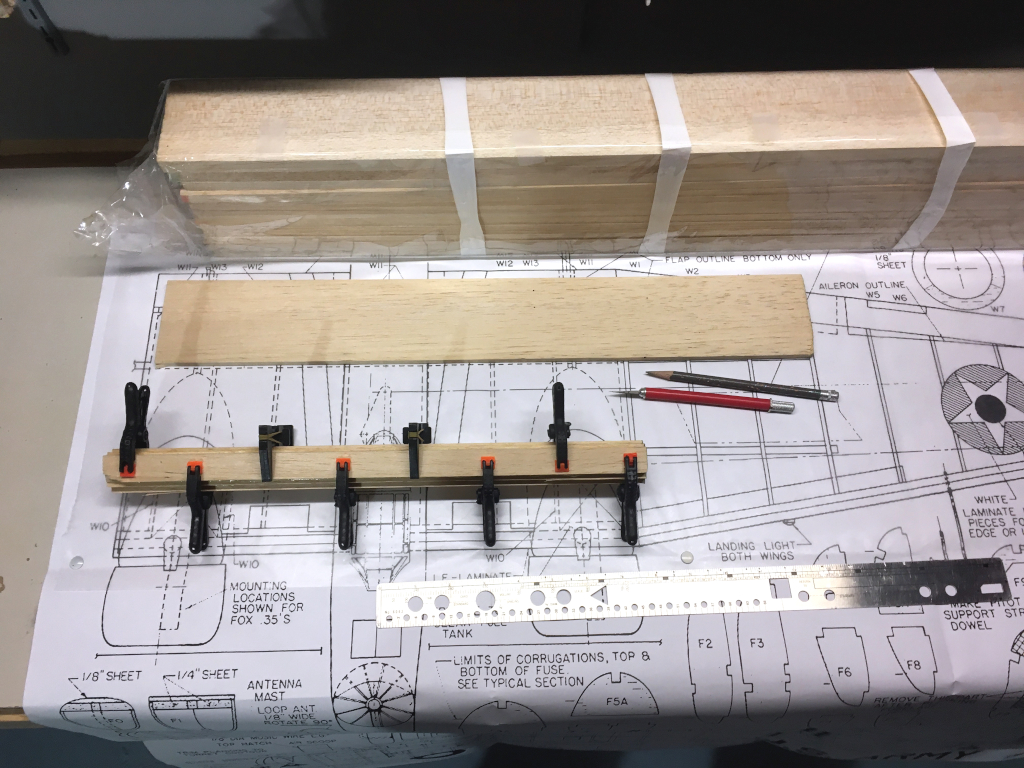
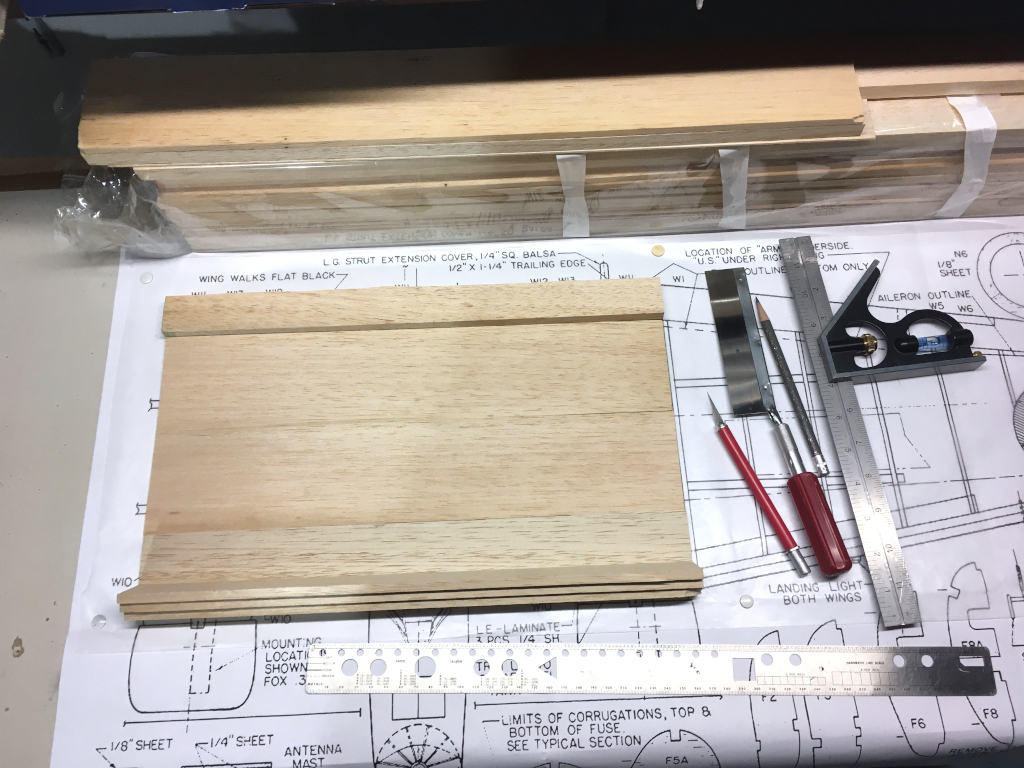
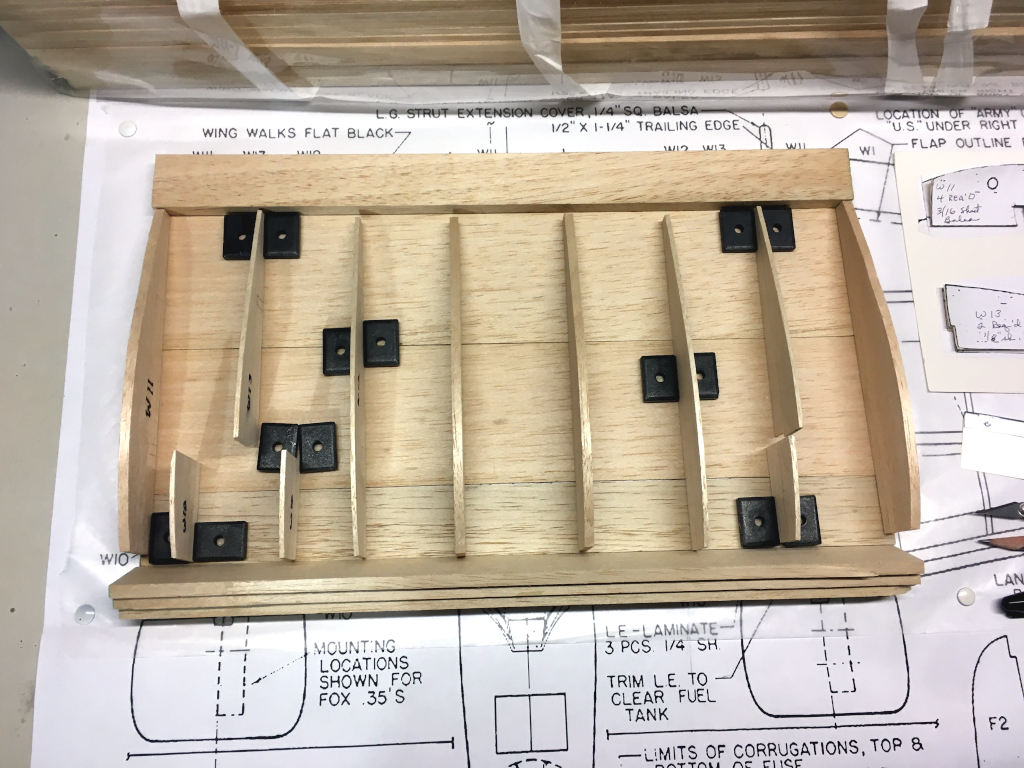
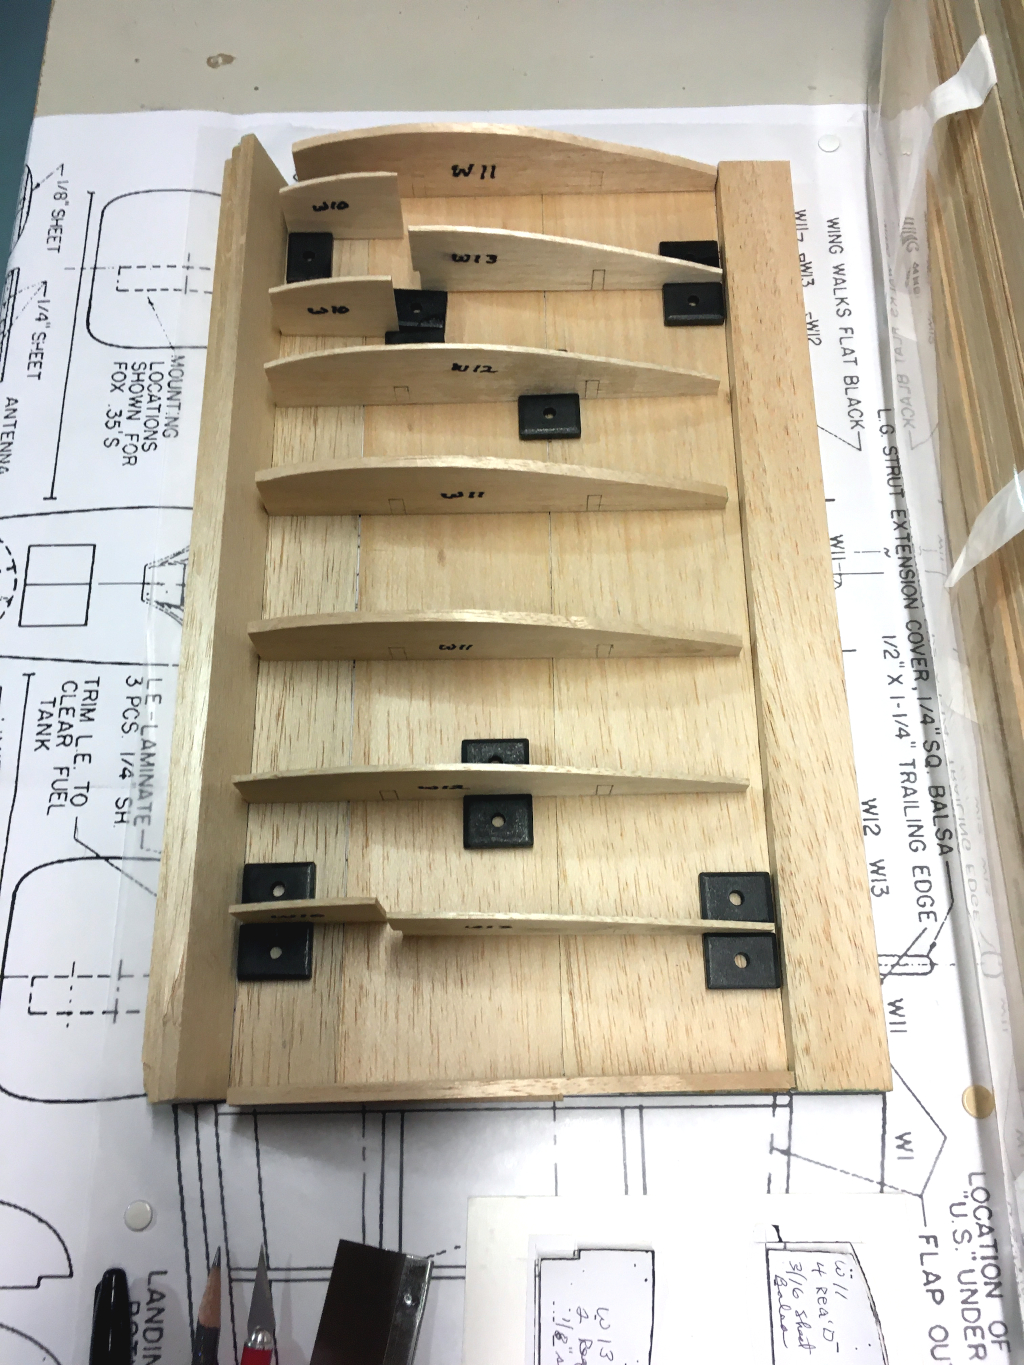
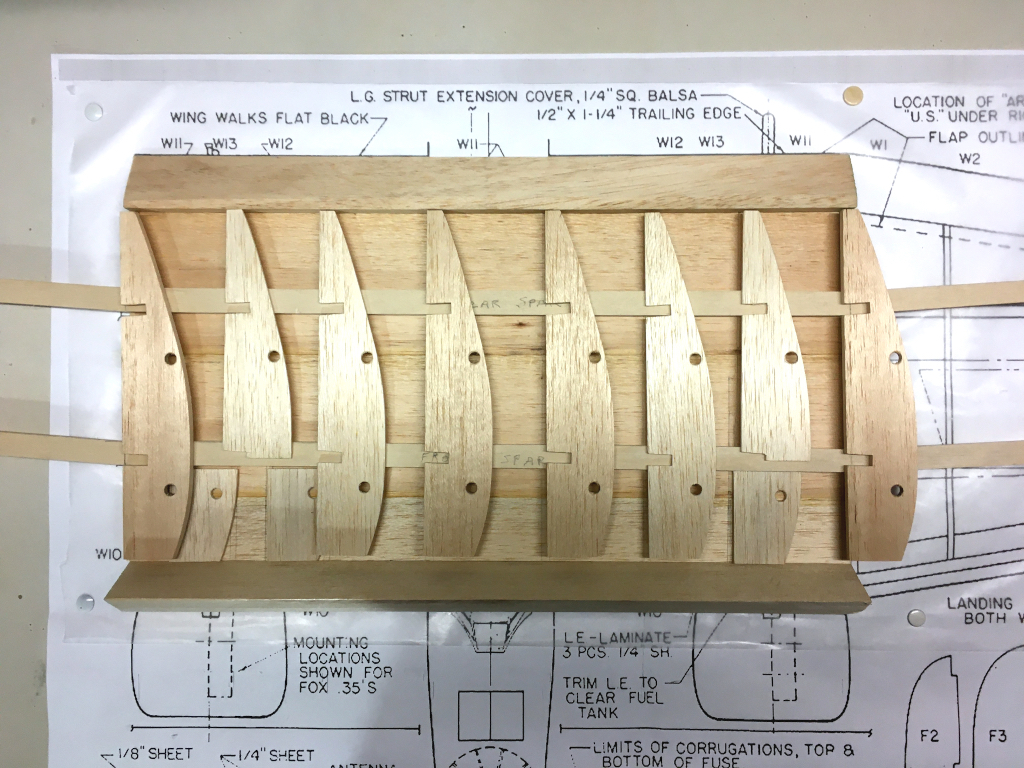
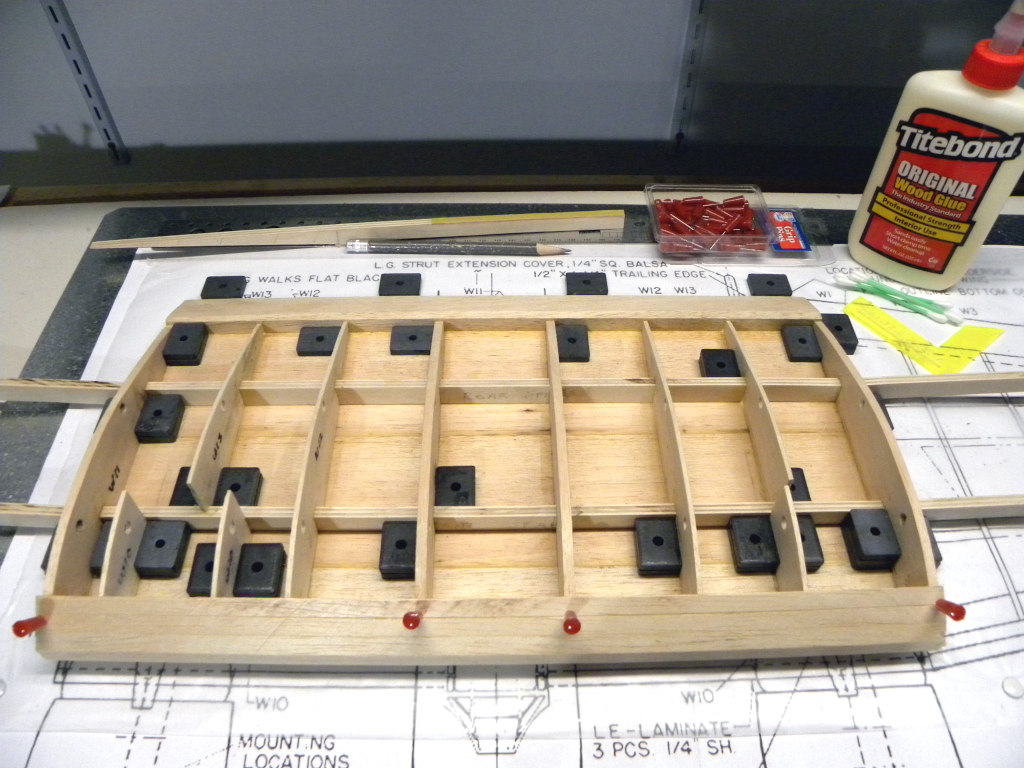
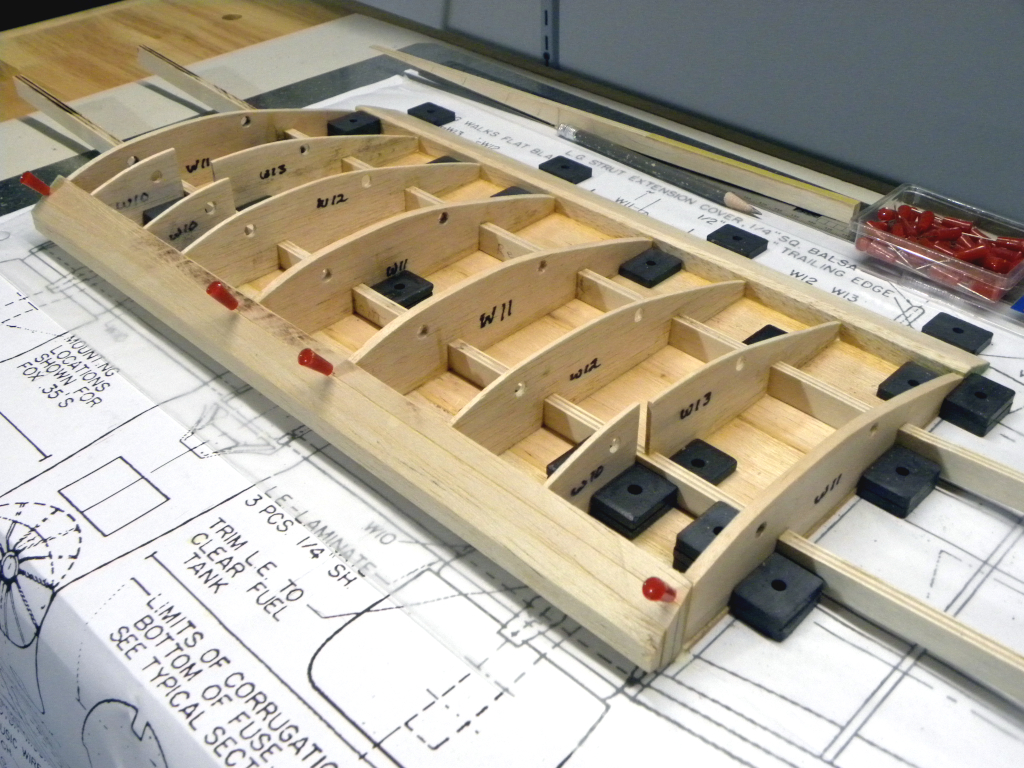
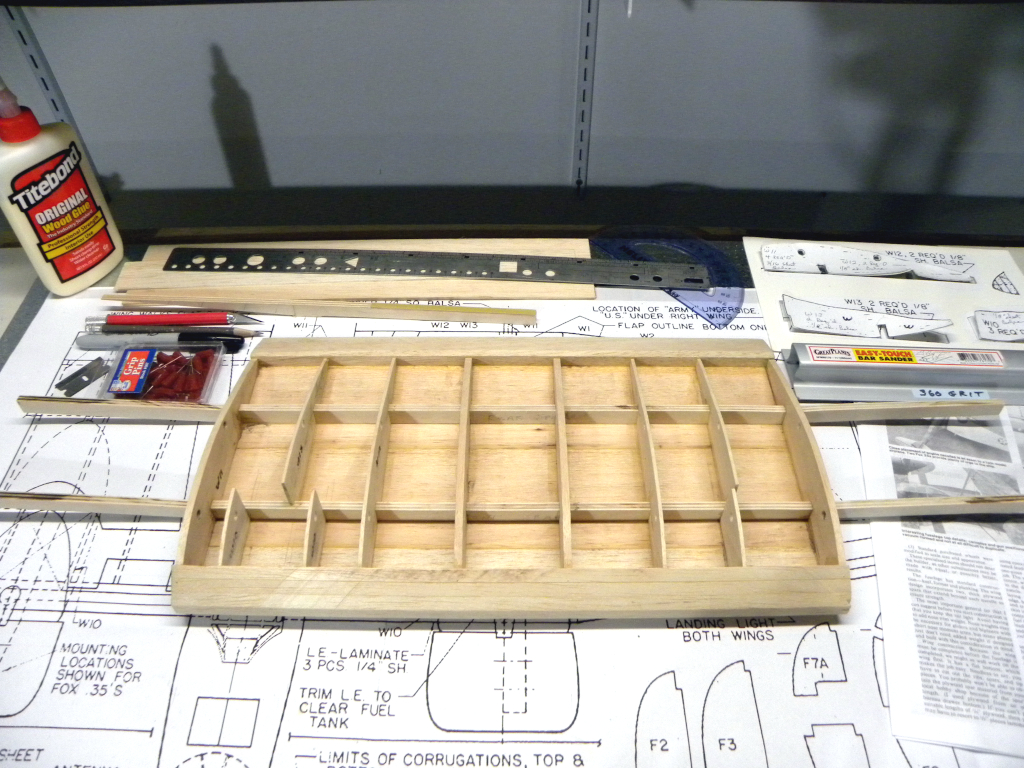
What follows here is a series of photos that show the build sequence of the center wing section to date. For those who may be wondering, I have used Tightbond glue for this part of the build.
I am happy to report that the early phase of this build has been fun so far. To date, all my builds have involved using die-cut or laser cut parts. This time around, since I am scratch building, I need to figure out the best, and most efficient, way to cut out parts from raw stock. That involves cutting out templates, using protractors, rulers, various blades and hand held saws, and the aforementioned wood working tools. As I have mentioned before in other FlyBoyz posts, I’m not an engineer so some of this, which comes naturally to others, can be a bit challenging to me. It’s still early yet, but so far, I think I’m doing OK.
B-10 Construction Stats (to date):
- Build Hours – 17.5
- Weight – 6.2 oz.
- Notes – This thing feels like a tank!
Next up is building the left and right wing panels, however, I will be switching gears for the next few weeks in order to work on a plane restoration that I want to have completed for the Ringmaster Fly-A-Thon being held the first weekend of October. So the B-10 build will be on the back burner for the moment, but stay tuned for future updates!


