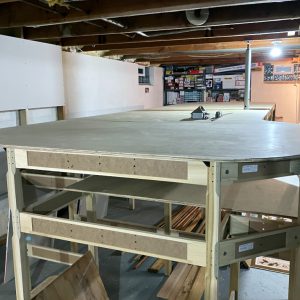
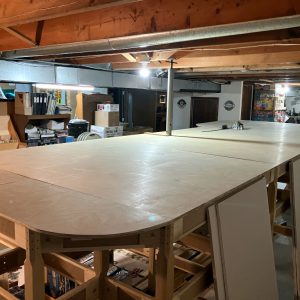
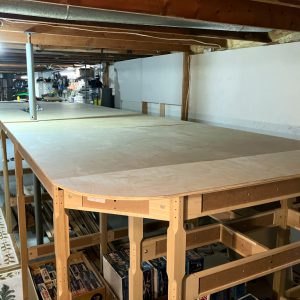
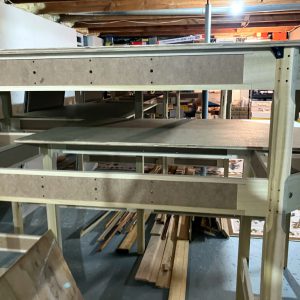
I just finished the next major step in the construction of the benchwork for my new HO-scale model railroad layout. And that is I have installed the plywood sub-roadbed on top of the Mianne Benchwork that I described in my last layout post.
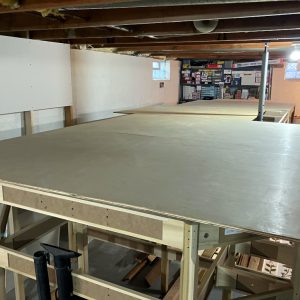
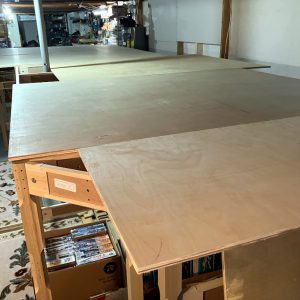
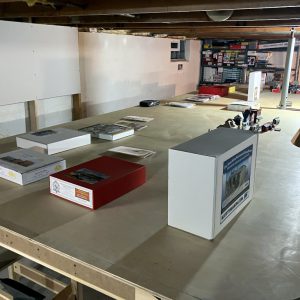
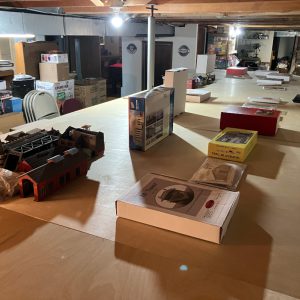
I am using 1/2″ thick sanded birch plywood for my sub-roadbed. This plywood is dimensionally stable and will form a solid base upon which to build the trackwork. My local lumberyard pre-cut the 4′ x 8′ plywood sheets which made them more manageable for transportation and handling by one person…me! Once they were in the basement and laid out on the benchwork, I marked them for final size and shape and then used my woodworking tools for the final cuts. Mianne had supplied me with the attachment hardware and I found the installation of the cut plywood onto the benchwork frame to be a straightforward job. Altogether, there were 4 large and 2 small sheets to be cut and attached. I completed all this over the course of 5 working sessions of a couple hours each.
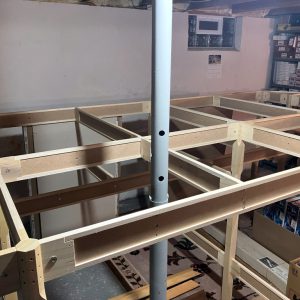
However, before installing the plywood, I needed to make a final positioning change to the location of the benchwork within the basement area where the layout is located. The location of a structural lally column in the layout area allowed for only 18″ of aisle walkway around 2 sides of the layout. To increase the width of the aisleway to a manageable amount, I ended up having to incorporate the lally column into the layout itself. It was a very easy task to disassemble one of the framing I-beams of the benchwork, move the benchwork, and then reinstall the I-beam. The resulting position of the benchwork now allows for 30″ aisleways on both of the affected sides of the layout. As for the column itself, I will build a structure around it and paint the top of it to ‘blend into nothingness’. Problem resolved.
(Click on photos to zoom in on them)
One of the other things that I have begun, is framing and sheetrocking the basement wall that runs the length of one side of the layout. I started this by removing the old wooden shelves that covered part of this wall. The new wall has been started and completing it will be my next project task. You can see the partially built wall in some of the photos below. Here are some photos of the installation of the plywood sub-roadbed:
After finishing the plywood installation on the main level of the layout, I found that the lower staging level makes a convenient storage place for the plywood remnants from the main level. My focus will remain on finishing the main level before I begin any work on the lower level (easily a couple years down the line!).
I still have a few plywood hardware clips to install along some of the plywood seams. This will ensure that all the plywood edges are level and even with each other. And I have to add in the filler strip that I cut out for the lally column to slide into the plywood sheet. Those 2 tasks will be ‘quick hit’ jobs and I’ll move onto finishing the basement wall.
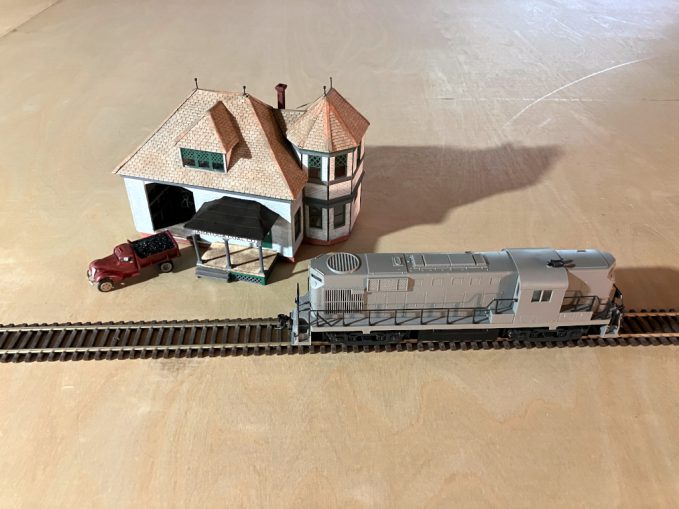
Once I had the sub-roadbed installed, I decided to play around with the potential future positioning of some of my collection of yet unbuilt Craftsman Structure Kits. Many of these structures are already sited on the master layout plan. What is not already done is the construction of these kits. Once I laid these kits out, I was struck by the magnitude of the amount of kit building in front of me! Time to get building!!


