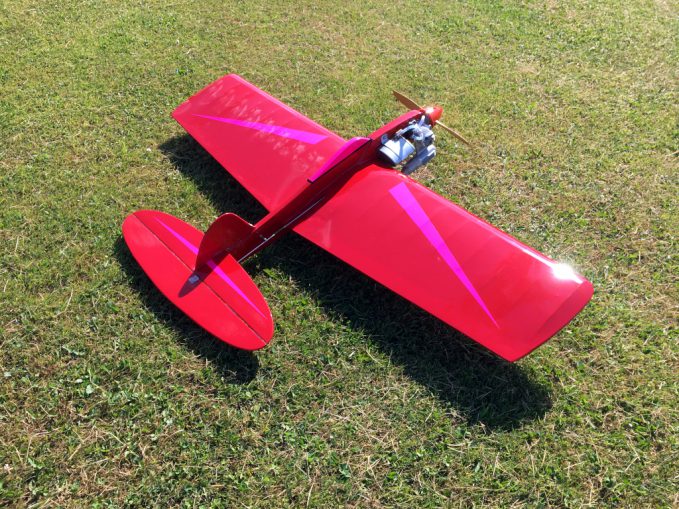
After 4 years, 154 flights, 6 crashes and 6 repairs, my trusty RingMaster was looking very ragged and worn. So, I decided that I would tow it into the hanger for a complete Depot Level overhaul once it hit flight #200. It never made it that far! On the very next flight, #155, I crashed it again while attempting to improve my novice skill level at performing an outside loop (a loop from an inverted attitude). Besides a broken prop and rudder, the wing was damaged. From the looks of the ripped wing covering, the wing damage didn’t look too bad. But in reality, the outboard wing was completely severed with the leading and trailing edges and main spar all being broken completely through. A major repair was necessary if this RingMaster was ever to fly again. So, it went into the hanger to begin the Depot Level overhaul I had already decided upon. 48 man-hours of overhaul time later, the RingMaster reemerged with a totally repaired structure, an overhauled engine, and a decidedly new look.
Removing the old Monokote covering consumed a significant amount of time as over the years, and many repairs, the covering had fused itself into the wood fuselage and sheeted surfaces. Even after much sanding, the original Monocote colors were fused deep into the balsa surfaces. Since I was concerned that this would result in the original colors bleeding thru any other colors that I attempted to cover the surfaces with, I decided to cover the entire plane in the original red that was the main cause of my color bleed issue. This Monokote issue, combined with the damage sustained during all the crashes, also caused me to make a new rudder.
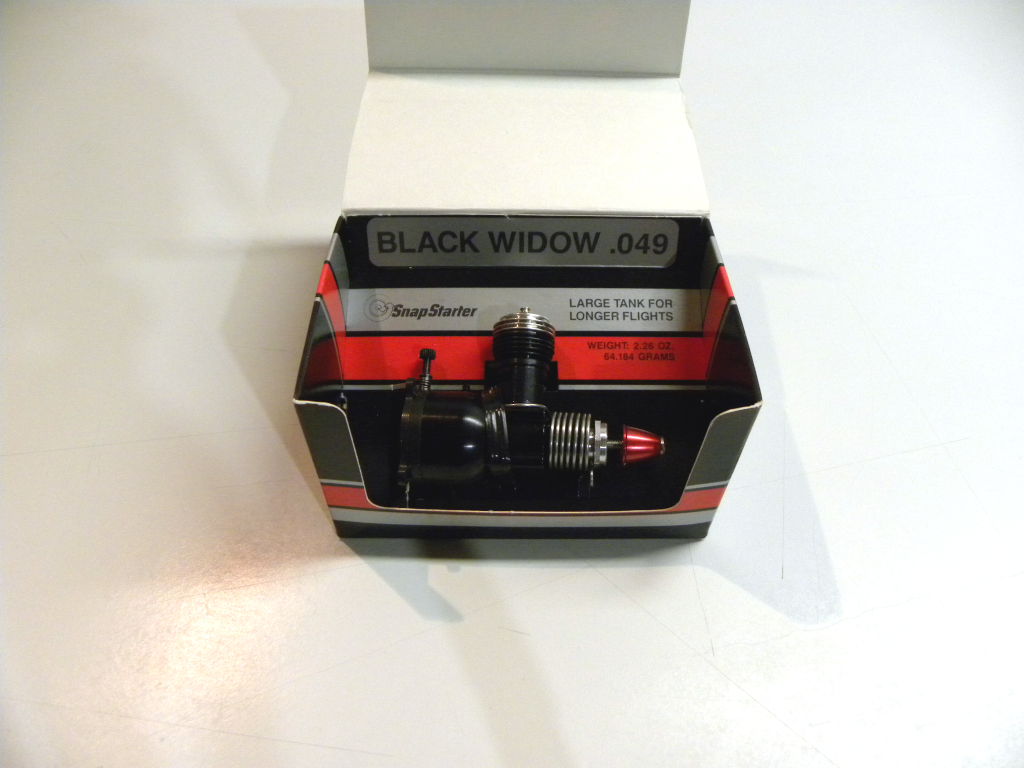
The engine, an O.S LA .25, was also looking worse for wear and had become caked in burnt castor oil, carbon, and dirt. So it was dissembled and received a crock pot bath in anti-freeze. After an overnight ‘cooking’, an old toothbrush and some 409 Spray cleaner made a quick job of bringing the engine back to a ‘like-new’ condition.
Next up was addressing the compression that repeated engine, tank, and landing gear removals and replacements due to crash repairs had caused to the front fuselage sides. I addressed this by laminating new 1/16″ plywood fuselage doublers over the original doublers. Ultimately, this additional weight to the front of the fuselage caused me to add an additional 1/4 ounce of weight to the tail of the plane to maintain a proper CG (Center of Gravity). The new plywood doublers also covered the Monocote color bleed issue on the front of the plane and gave me a nice clean surface to attach the new Monokote to.
Reattaching the severed outboard wing was the next task. First, new ribs were cut and laminated alongside the several missing or damaged ribs. Then lots of epoxy and careful alignment were used to reattach the leading and trailing edges and main spar all in one operation. Reinforcing balsa was then added along the reattachment points. Finally, new sheeting was then cut and glued in place to replace the wing sheeting damaged during the crash and resultant repair.
With the structural repairs being completed, covering with new Monocote began. Covering an assembled plane is problematic at best, time consuming, and not something I would recommend to anyone! The fuselage proved to be the most problematic given all the curves, edges, and hard to reach areas due to the wing and horizontal tail surfaces being installed and in the way. I ended up covering it by using no less than 8 separate sections. This resulted in a lot of covering seams but it is what it is.
With the main structures all covered, the pink accent stripes and canopy were applied then the rudder was reattached. At this point, the main landing gear, fuel tank, and engine were all reattached and it looked like a plane once again. Everything was pre-flighted for final fit and finish and finally it was rebalanced with 1/4 ounce of weight needing to be added to the original tail weight.
A full month after the last crash, my RingMaster made it’s reappearance at my local flying field, the STARS in Phoenix, NY. A brief photo op session was held and then the plane was ‘maidened’ with several flights. The O.S. .25 performed flawlessly with single flip starts and smooth runs during each flight. And the plane itself flew better than I can ever remember it flying. So far, I have avoided trying to perform any outside loops with it but my old flight routine is down pat once again.
Once the plane was revealed at the STARS field, I received several comments about how nice my ‘New’ plane looked! While I don’t consider this rebuild to be representative of my ‘best’ building skills, I imagine it was good enough to garner comments about it being a ‘New’ plane. Not bad for an old bird! Here’s to another 155 flights!
I’ve prepared the following brief video which documents the rebuild that I have described above. Enjoy the video. And fly Control Line!


