Those of you who have followed me over the years on this blog, know that I also ‘dabble’ in other modeling hobbies besides model airplanes. On occasion, I have mentioned my interests in model rocketry, scale plastic plane modeling, and HO model trains. When it comes to model trains, my primary interest to date has been in the building of Craftsman Structure Kits. I enjoy the challenge of building these highly detailed trackside structures. However, I have also been building them for future use on some long-planned HO train layout. For the better part of some 20+ years now, I have been collecting everything needed to build an HO-scale model railroad layout. Well, the time has finally come for me to start building that layout and I plan to document that endeavor here in my FlyBoyz Blog. Let me explain.
As I said, I have finally begun to build my long-planned and hoped-for HO model train layout. That does not mean that I am putting aside my aviation-related activities but rather I will be ramping up my model train-building activities in addition to continuing on with my model plane activities. I have already been doing a fair amount of model train-related modeling over the years, I have just not reported much on it here in FlyBoyz. Separately, one thing that I have become concerned about over time is that I don’t want this blog to become stale with reporting the same airplane-related activities and events over and over again. However, now that I have kicked off my actual layout build, I will be taking that model train-building activity up a notch and I’d like to report on that activity here in FlyBoyz. This will result in providing the blog with a new source of additional content. I know that a lot of plane modelers also cross over into train modeling so, hopefully, this new blog content will be of interest to them. If your interests don’t happen to run to the model railroad world, then no problem, just keep reading this blog for the same aviation-related posts you’ve hopefully enjoyed in the past.
To accommodate this new model train-related blog content, I have added a new Main Menu item called ‘TRAINS‘ which now appears at the top of each blog page. All my model train-related posts will appear under this Main Menu item.
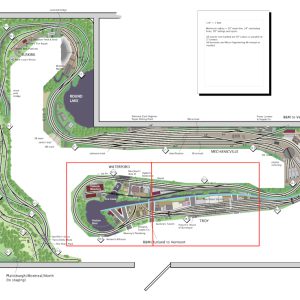
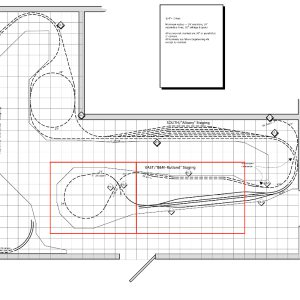
With all that having been said, let’s get into the specifics of my layout build to date! My specific layout plans began about fifteen years ago when I collaborated with noted model train layout designer Robert (Bob) Sprague. I was looking for a layout that would be based on representing my hometowns of Troy and Waterford, New York, and then extend into the Upper Hudson River Valley and into the Adirondacks of Upstate New York. Over the course of several months, I fed my layout design requirements to Bob and he drew up repeated iterations of a plan that would result in a layout that fit my requirements and that also fit into the Train Room that I had allocated space for in the basement of my previous house. One of my primary requirements was for a 2-level layout with scenery on the top level and staging (for train storage) on the lower level. And finally, I wanted the layout to accommodate the continuous running of trains with the option of also doing some yard switching. Bob did a fantastic job and met all my requirements. Here is the layout that resulted from those collaborations:
(Click on photos to zoom in on them)
Alas, I ended up moving into another house before that layout could ever get off of graph paper. The basement in the new house necessitated scaling down the size of the original plan and, additionally, I became concerned about my ability time-wise (I’m getting older!) to ever build the full layout as originally conceived. So I scaled things back. I decided to focus my initial layout build on the peninsula that represented the core of the layout and that is the Troy/Waterford section of the layout. If I ever get that section all built, I can then look to add another section of the original layout plan onto the existing layout. And so, if you look at the 2 plans above, you will see red boxes outlining the section of the original plan that I have decided to work on at this point in time.
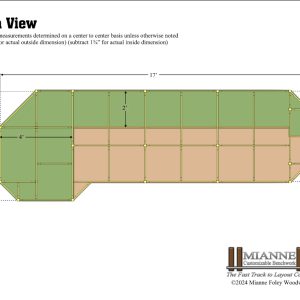
Earlier this year, once I was ready to actually start building the layout, I began another collaboration for the actual benchwork needed to build the layout. Given that my engineering skills are a total zero and that my woodworking skills are not much better, I knew I would have issues with the design and construction of the benchwork. I also knew that it would personally take me a very long time to actually build the benchwork, time that I would rather invest in laying track, adding scenery, and actually running trains! So I enlisted the help of ‘MIANNE Customizable Benchwork‘. My first concern with this approach was the cost involved. In reality, considering the cost of buying my own lumber and also the time that I would have spent designing and building the benchwork myself, I found the MIANNE approach to be very reasonable cost-wise.
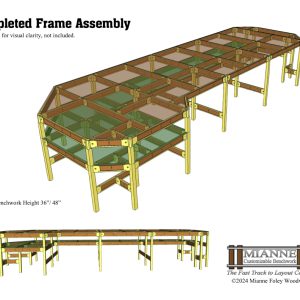
My collaboration with MIANNE resulted in the following benchwork design:
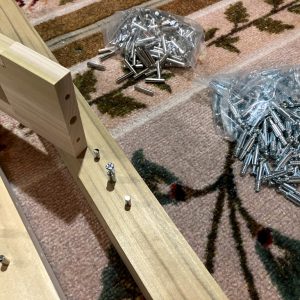
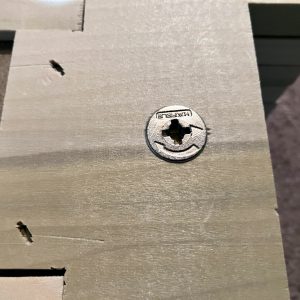
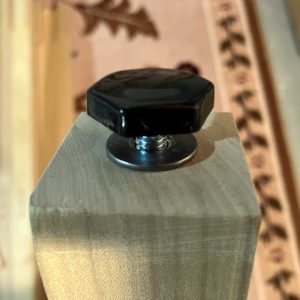
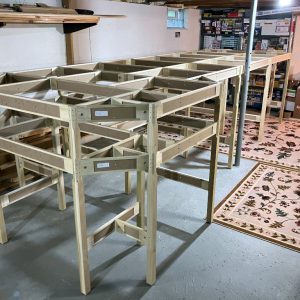
Once I approved the final design, the benchwork was ordered and then delivered in 4 very manageable boxes to my house. I then began the project of assembling the benchwork. This benchwork is really awesome! It is made of cabinet-grade wood, utilizes wooden I-Bean construction that is lightweight yet very strong, and goes together the same way as building IKEA furniture does using camlocks and metal alignment pins. Here are a few photos showing some of the particulars involved in assembling the benchwork:
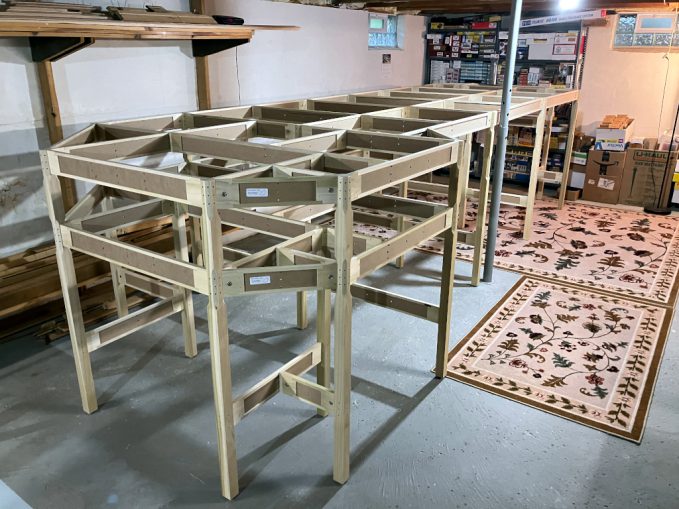
Best of all, from the time I opened the first packing box until I took photos of the completed benchwork assembly, I had invested a grand total of only 12 manhours of labor. I literally built the entire benchwork in one weekend! Here is a photo of the completed benchwork assembly:
Now that I have completed the main benchwork assembly, my next task is to add the 1/2″ sanded plywood sub-roadbed to the top of each level. I will initially only be adding the sub-roadbed for the top scenery level. There is easy access to the lower staging level that will allow me to add the plywood sub-roadbed to it at a later time. Right now, I’d like to focus my efforts on getting the top level to a point where I can actually start running some trains!
And so there you have it! FlyBoyz now has a new track siding to make it’s way down and explore. I’m really looking forward to this new modeling adventure and I hope you enjoy coming along with me for the train ride!
P.S. Thanks, John for the idea. I think this is gonna work out great!


