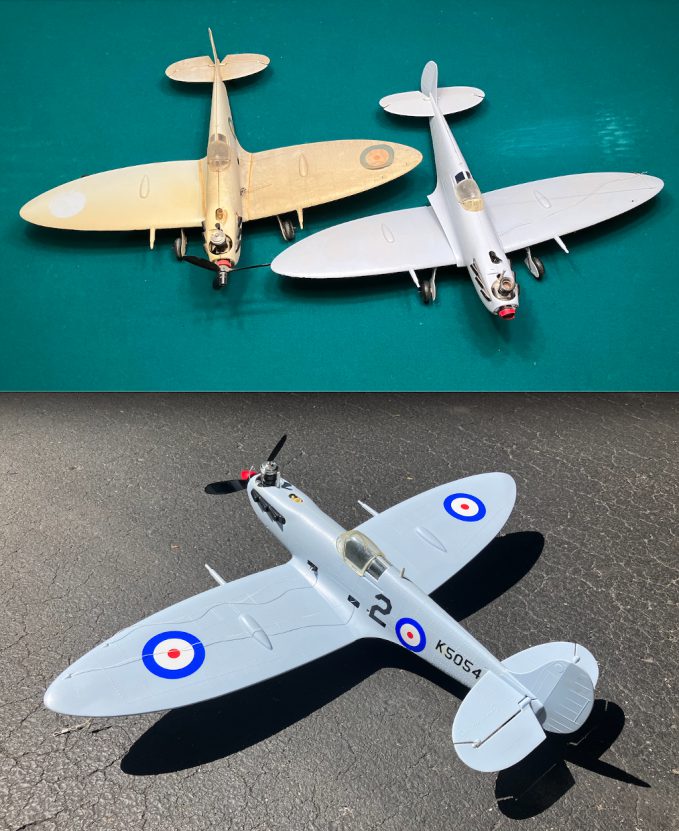
I decided that I needed to start addressing some of the multiple projects that have been sitting around the shop either waiting to be started or waiting to be completed. With that in mind, I decided to pick a ‘quick hit’ project to get things rolling. For a long time now, I have had 2 plastic COX .049 powered Supermarine Spitfires sitting under one of the work benches. It has been my intention to combine these 2 un-unflyable models into 1 nice looking static display model. This hit me as a good candidate for a ‘quick hit’ project that would also address 2 plane models at the same time.
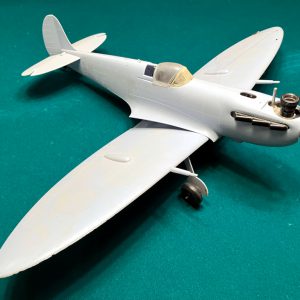
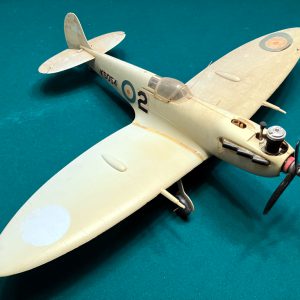
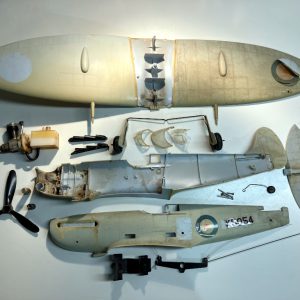
The first Spitfire, the cleaner and better looking of the two, was one I’ve had for a couple decades now. I flew it several times until a hard landing broke a couple of the plastic parts that help keep the wing and fuselage together. The second Spitfire is one I picked up a few years ago at an estate sale. It was in very rough and dirty condition with the wing glued to the fuselage in a manner that was not only ugly but that would not render the model fixable without literally tearing it apart. I decided that I could cannibalize the parts from it that would be needed to bring my original Spitfire back to presentable condition.
What follows are photos which document the overhaul of my original Spitfire and the combination of the two plane models into one presentable model.
SPITFIRES BEFORE OVERHAUL:
(Click on photos to zoom in on them)
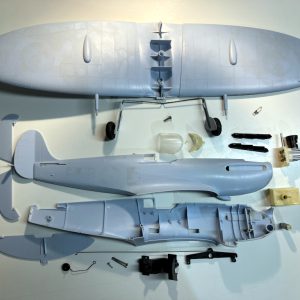
As always with any of my model restorations, the first order of business was to dissemble the models and clean the parts. There were no issues doing this with the original Spitfire. The glue holding the sacrificial Spitfire together was old and brittle so it came apart easily. The interior of it was pretty much a mess. I then proceeded to clean the parts from the good plane.
SPITFIRES DISASSEMBLED:
(Click on photos to zoom in on them)
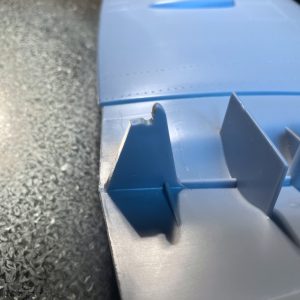
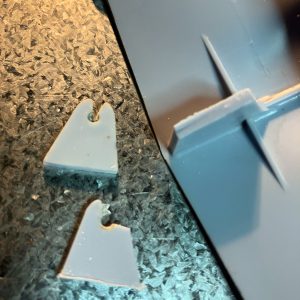
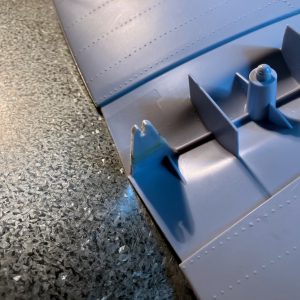
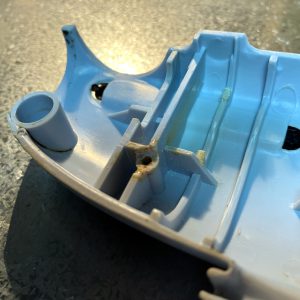
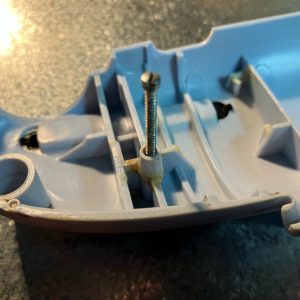
Plastic repairs involved cutting out the broken wing attachment bracket from the good plane and glueing in a replacement piece cut off the bad plane. Then a screw attachment lug was cut out of the bad plane and glued into the good plane. Since these planes are made of styrene plastic, liquid Tamiya plastic model glue was used on all plastic parts. The bracket and lug were then reinforced with a coating of epoxy.
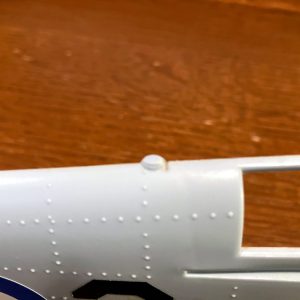
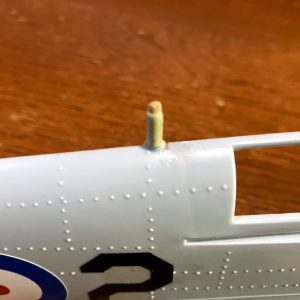
I have never seen a COX Spitfire that was not missing the antenna mast that is located on top of the fuselage behind the cockpit. These must break off as soon as the plane is removed from its original box! The machine gun barrel of one of the two leading edge machine guns seemed to be a pretty good approximation of what the antenna mast looked like so I cut one off the sacrificial Spitfire and glued it onto the antenna base on the good plane. The antenna is a bit discolored but serves the purpose and looks presentable as an antenna.
The final plastic repair was to address the outboard starboard leading edge of the wing which was dinged and serrated from a crash landing on pavement years ago. A bit of careful sanding took care of most of this issue with the leading edge now looking presentable.
PLASTIC REPAIRS:
(Click on photos to zoom in on them)
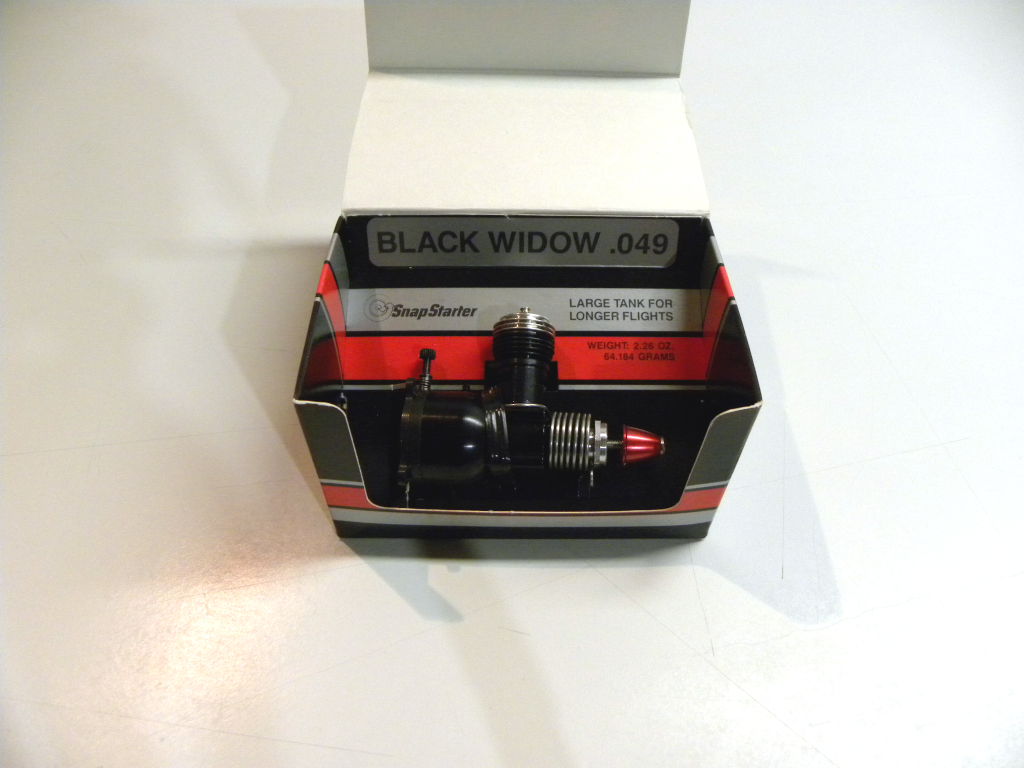
The COX .049 engine on the good plane was in pretty good condition but was missing some parts. Once it was cleaned, a new glow plug and starter spring were added, the prop from the sacrificial plane was added, and a prop spinner from my parts collection finished up the engine.
The canopies on my original plane were broken and totally discolored and crazed and the rear cockpit windows were missing altogether. The canopy parts from the sacrificial plane were cleaned and used on the good plane.
Both planes were missing decals and those that remained were unserviceable. I took what decals were available and sent them to Callie Graphics for use in making new decals. As always, Callie did a great job replicating new decals and they were added to the model.
COX .049 ENGINE AFTER OVERHAUL:
(Click on photos to zoom in on them)
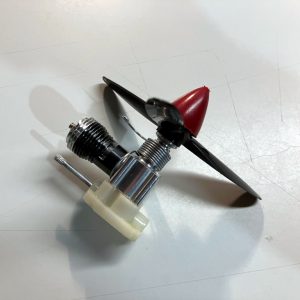
Cleaned .049 engine with new glow plug and starter spring plus prop and spinner installed. Engine turns over and lubed with After Run oil.
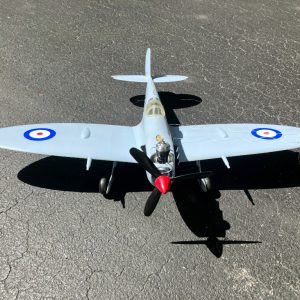
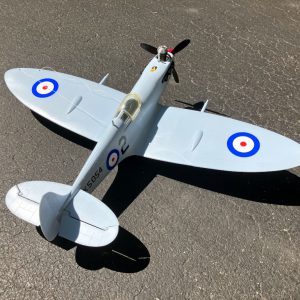
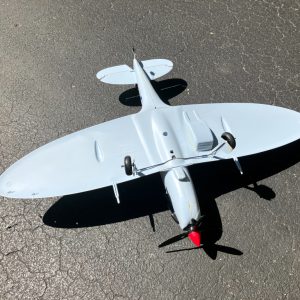
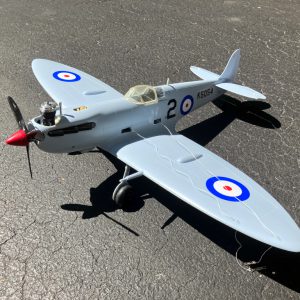
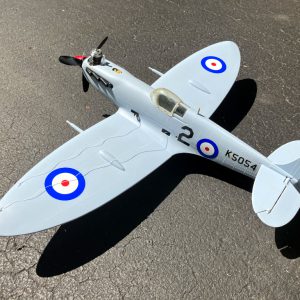
After the repairs were completed and decals added, the model was reassembled and ready for display. Here are photos of the completed model on display on the tarmac:
SPITFIRE ON THE TARMAC:
(Click on photos to zoom in on them)
As I had hoped, this turned out to be a fairly quick project and I am pleased with the results. With the two planes combined into one, I now have more room under one of my workbenches and I have a great looking classic COX Spitfire hanging from the ceiling on display in my workshop. The Spitfire is my favorite airplane and now one greets me every time I enter the workshop!


