Agonizingly slow…in 2 words, that describes the progress being made on my workshop build. Previously, I published 2 posts (Workshop Build – 01) and (Workshop Build – 02) in which I documented my progress (or lack thereof!) in my attempts to build a basement workshop. I now present you with update #3. And I am trying something new with this update…a video progress report! In addition to the normal stream of photos, I’ve included a video update at the end of this post. I hope some of you will find it to be enjoyable.
It has been almost exactly one year to the day since my last workshop update. Other ‘things’, many of them documented here in FlyBoyz, have kept me from the workshop build. After this past Christmas, I was finally able to get back at it and I have made enough progress to say that the workshop is now ‘workable’. Since the last progress report, I have primarily focused on the 28′ exterior wall side of the workshop. Work on this wall included framing, electrical, sheetrock, building an electrical panel enclosure, and installing wall storage racks. I’ve also painted the workshop floor and relocated the wood storage rack from its’ original location and rebuilt in the new wood storage area at the back of the shop.
I’ve been pretty frugal during this build to date and have made good use of materials left over from previous jobs and repurposed materials removed from this house. Doing so has resulted in modest build expenses to date of $577.83 for the entire build out. Most of that cost has been for sheet rock related materials.
My next major efforts will be the overhead lighting which is woefully inadequate and enclosing the furnace and hot water tank. However, there are several other projects upstairs in the house proper that are ahead of those efforts so it may very well be another year before the next workshop update! In the meantime, you can view the below photos to see some before and after progress on the shop. The photo captions pretty well explain what’s going on in each area of the workshop. And, of course, you can check out the video update I did. You’ll find it at the bottom of this post. Enjoy!
Here are a few before and after photos that show the progress that has been made to date.
(Click on photos to zoom in on them)
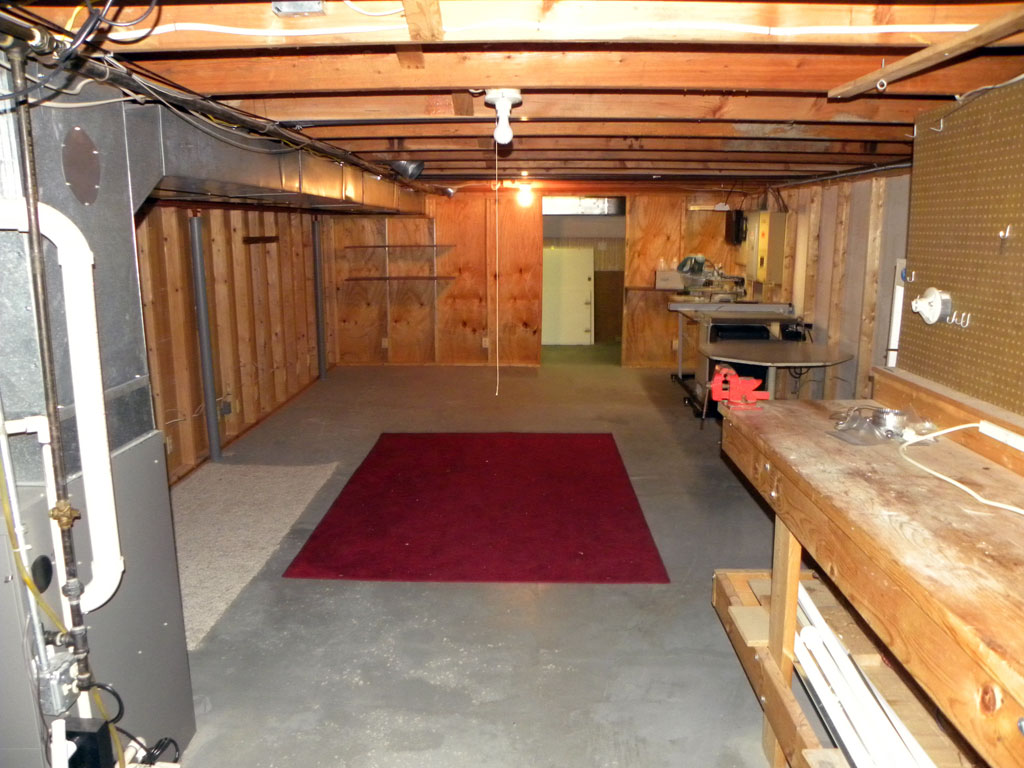
View looking into the original workshop area.

View looking into the workshop showing current progress.

View looking across original workshop area towards future HO train layout area.
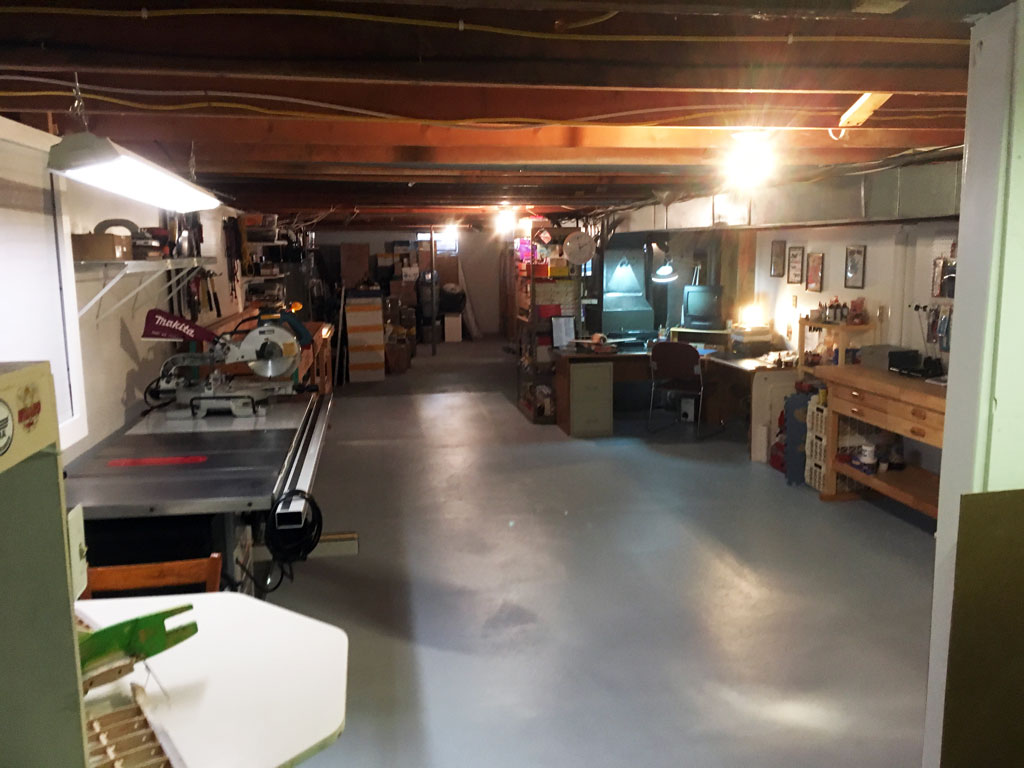
View looking across current workshop towards future HO train layout area.
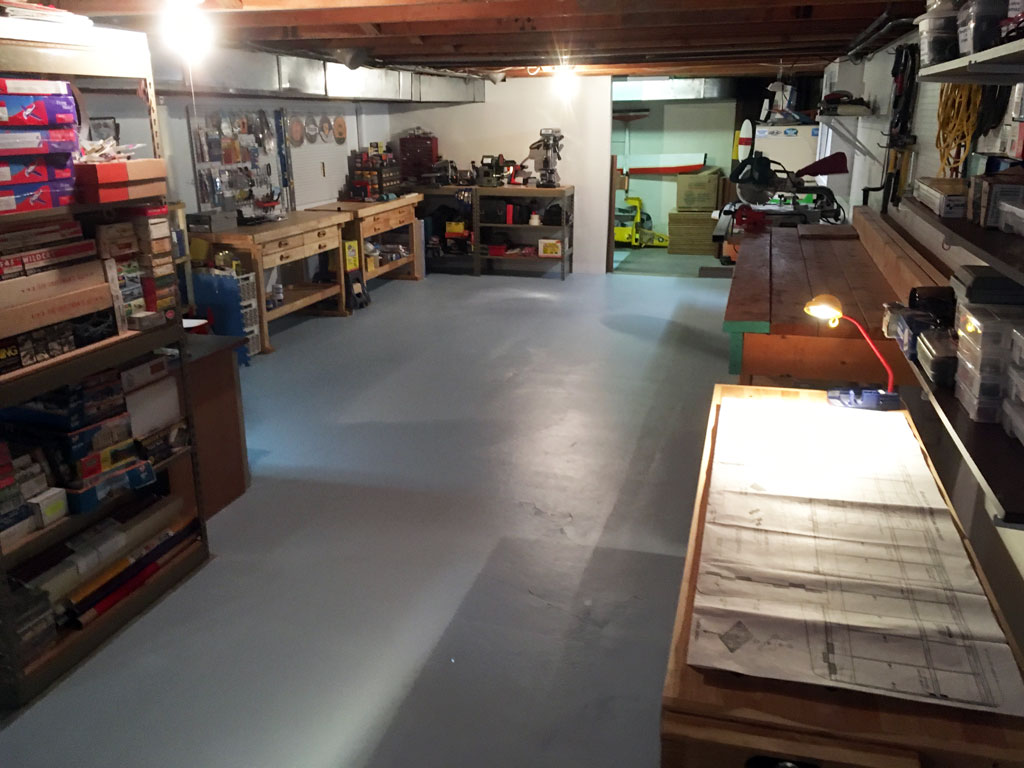
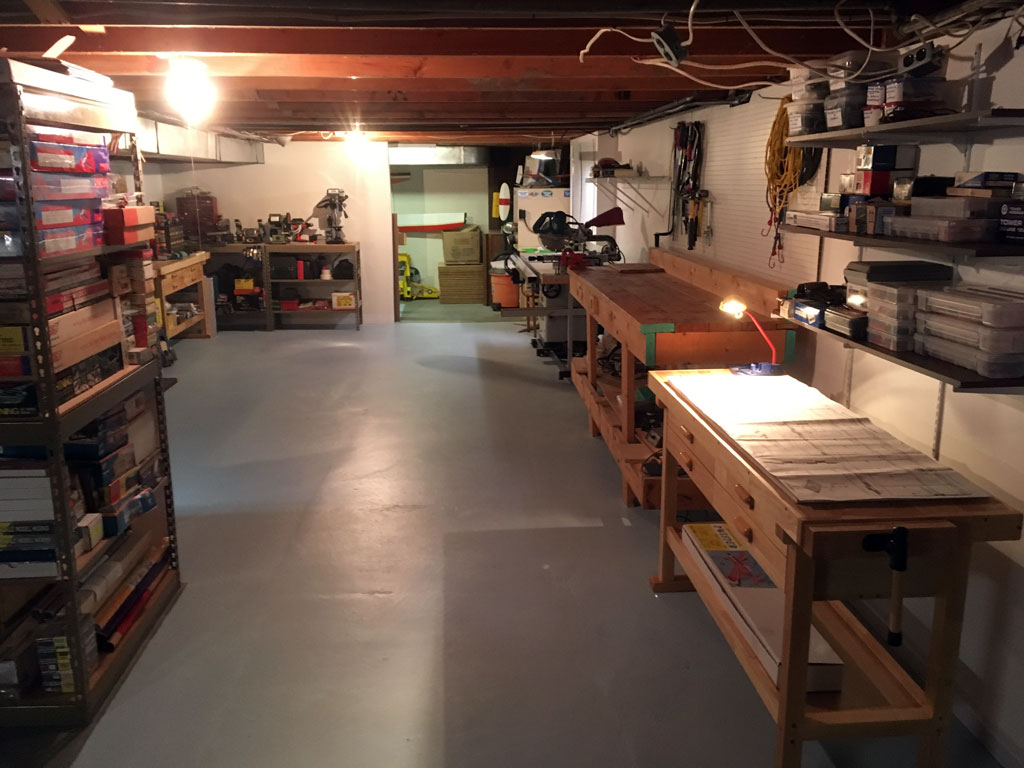
View into current workshop. The light blue floor is painted with a 1-part epoxy concrete and garage floor paint.
At this point, the photos will be displayed so as to highlight some of the workstations as if you were walking around the shop in a circle.
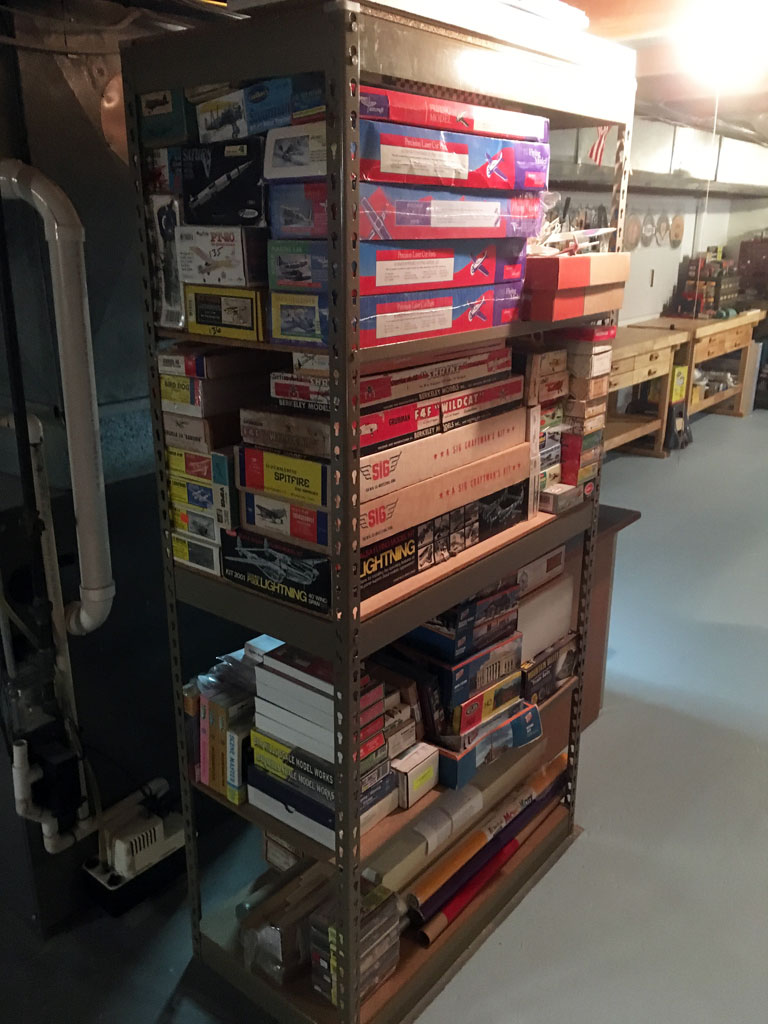
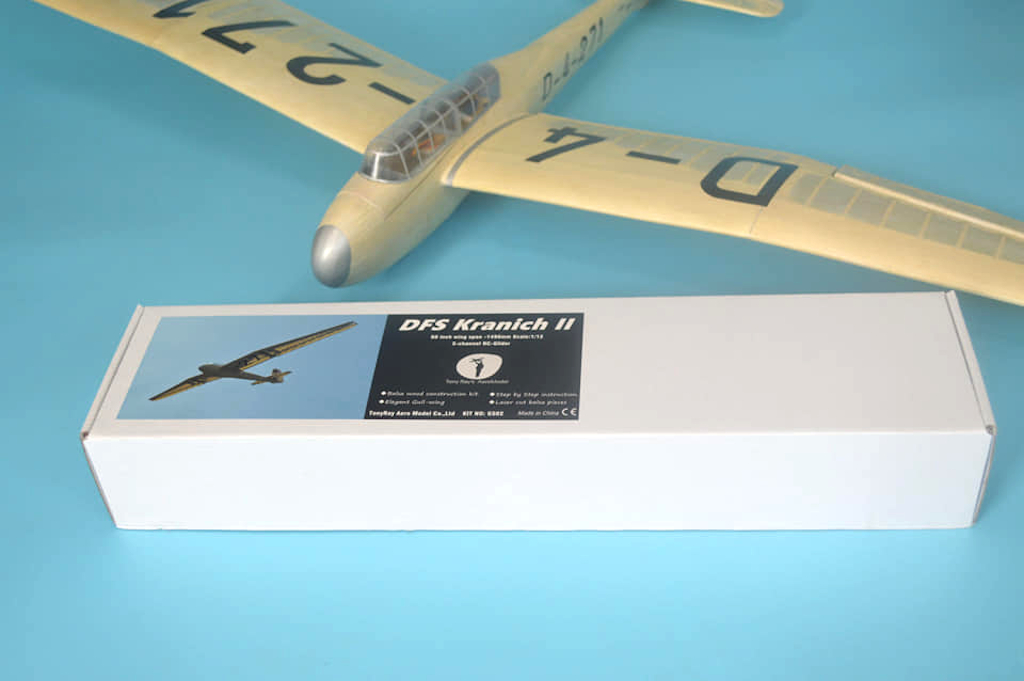
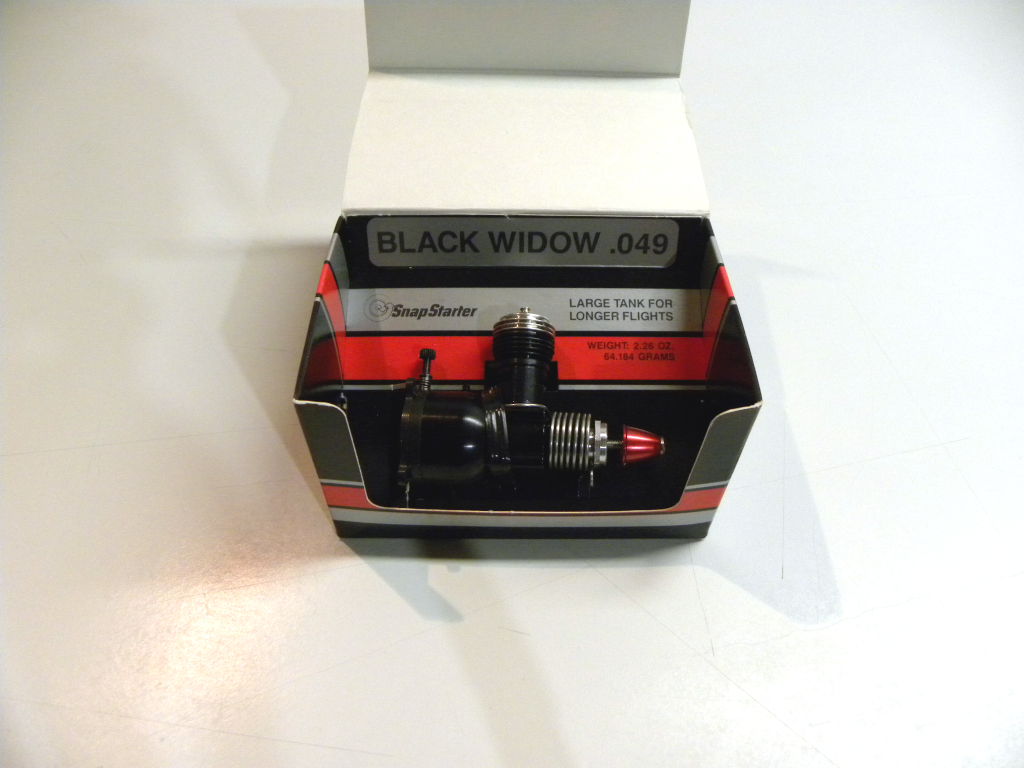
Kit storage rack. Plane kits on the top two shelves and a small portion of my HO model train structure kits on the bottom shelves.
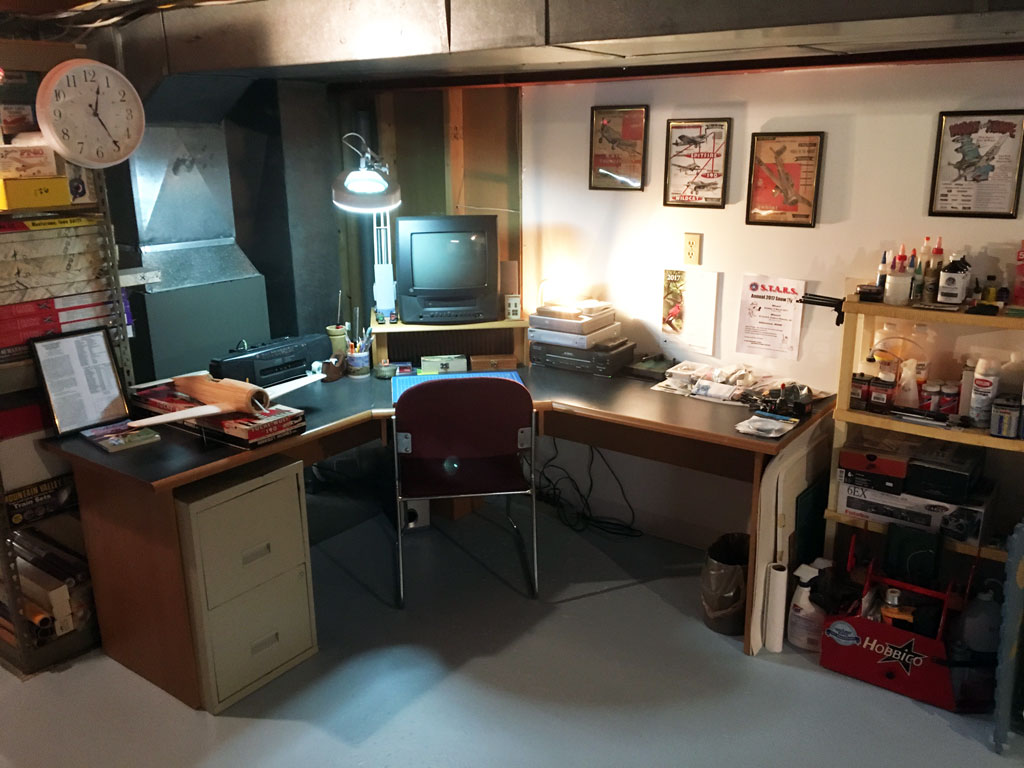
Work desk for building small models and kits. Once the furnace behind the work desk is enclosed, I’ll be mounting a small TV and stereo system on the wall in the corner behind the work desk.
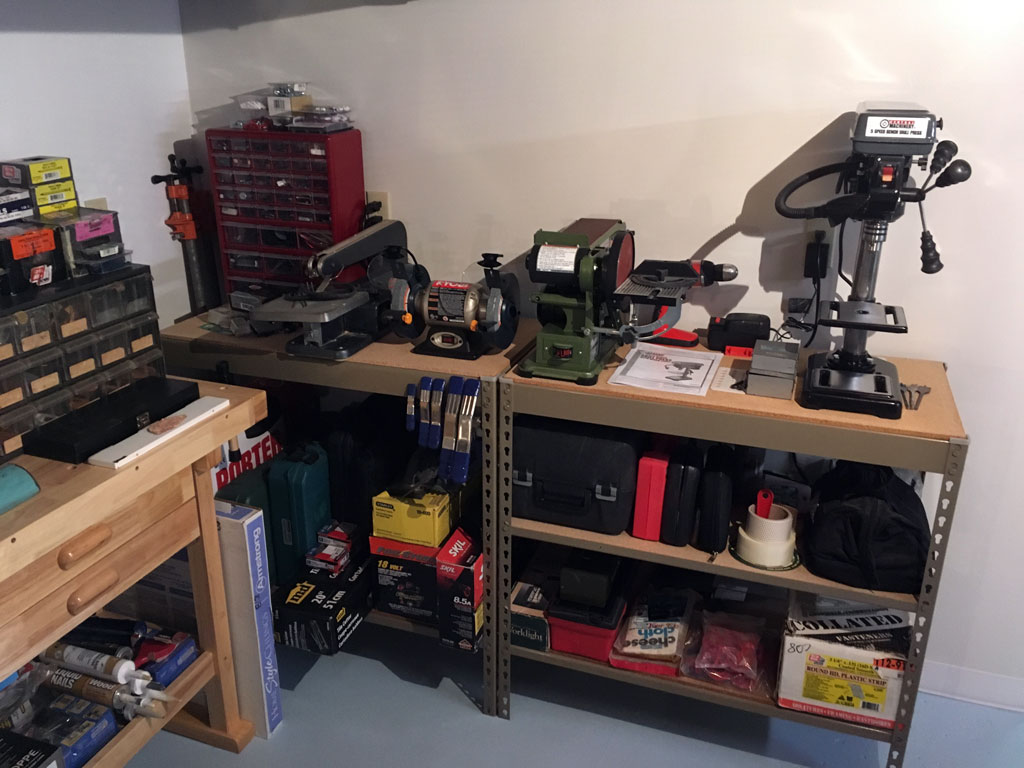
Small tools workbench. Lot’s of tool setup and mounting still needed with these.
View looking at the original back of the shop where the wood storage area is now located.
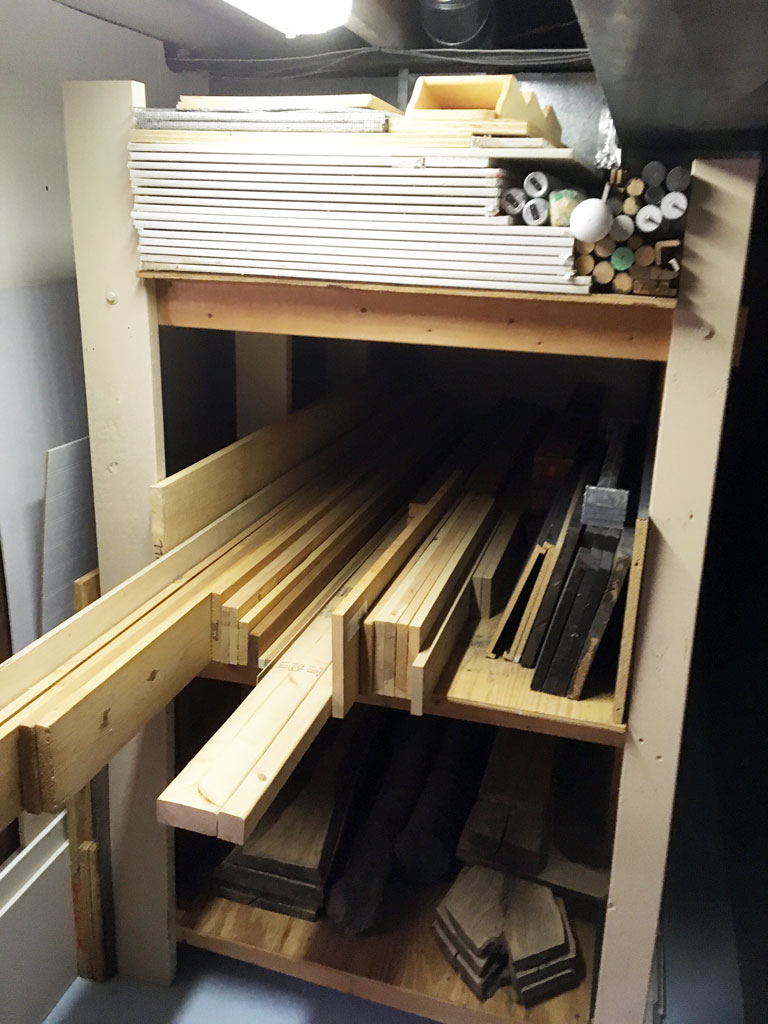
Wood storage rack in rear of shop. That’s English Walnut on the bottom shelf…I have plans for that wood!
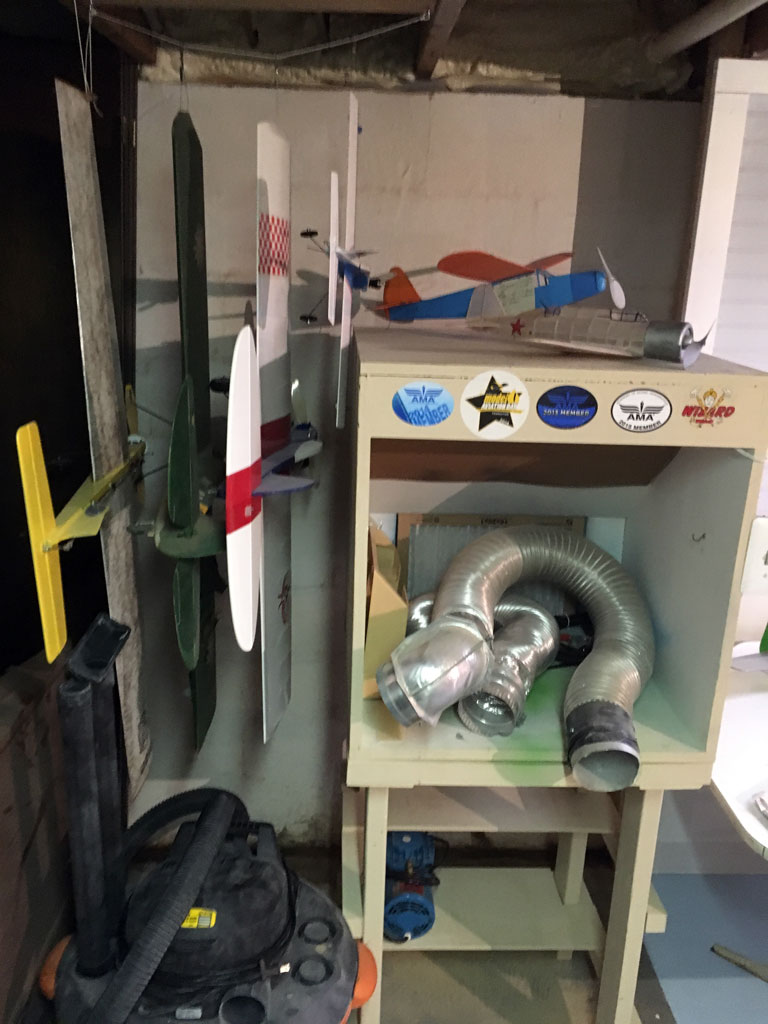
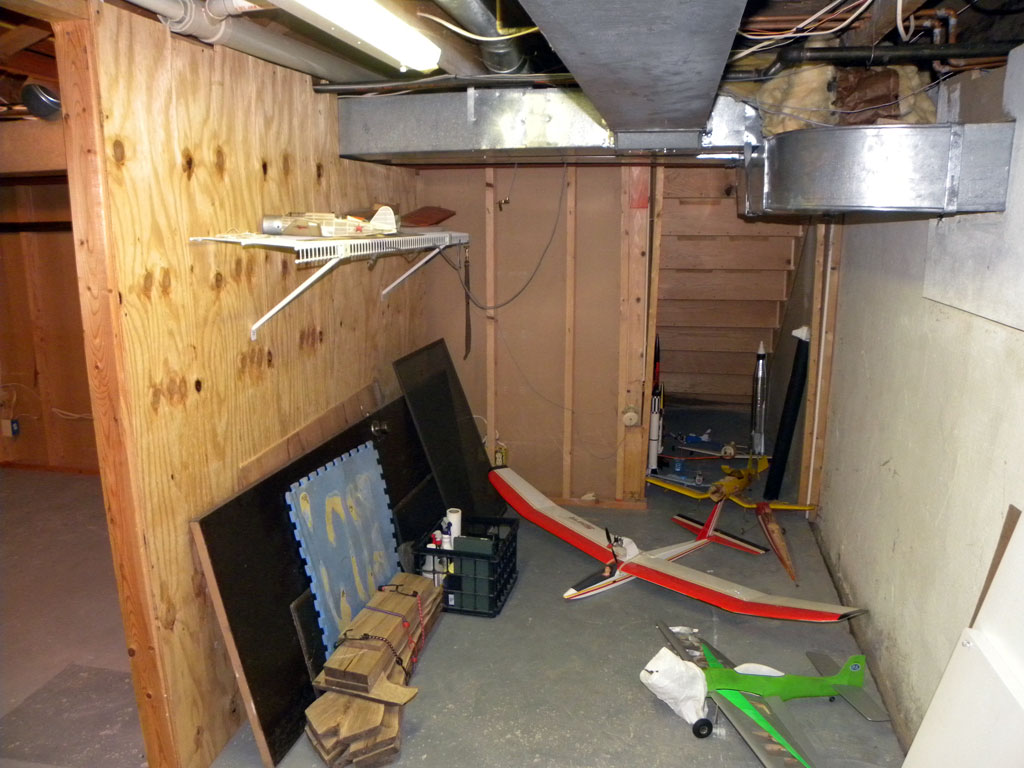
Rear corner of shop…this still needs work. Currently, I have some of my planes stored here as well as an airbrush paint booth which needs to be set up and vented.
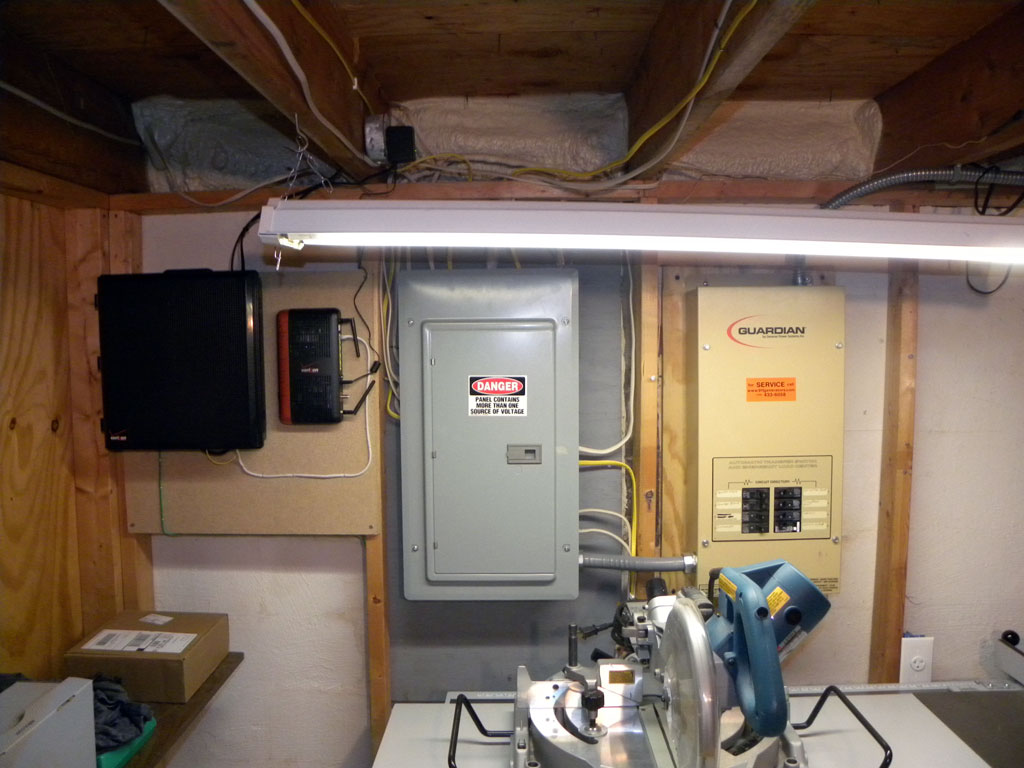
View of the original electrical panel area.
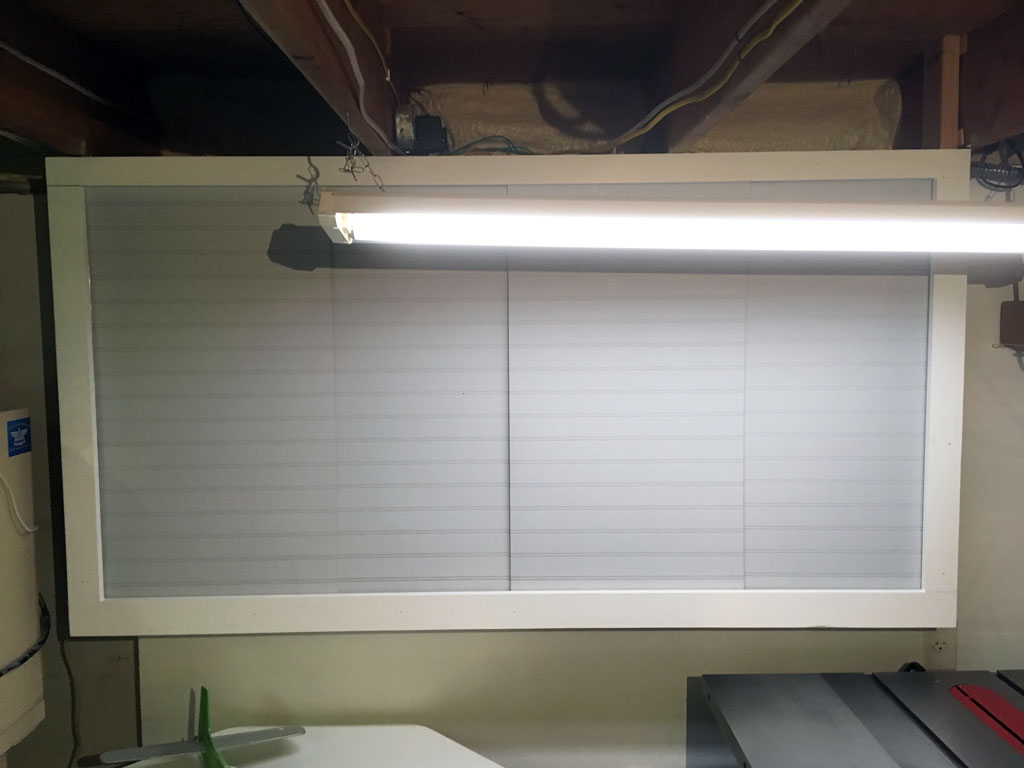
Electrical panel enclosure…made from recycled and left-over materials.
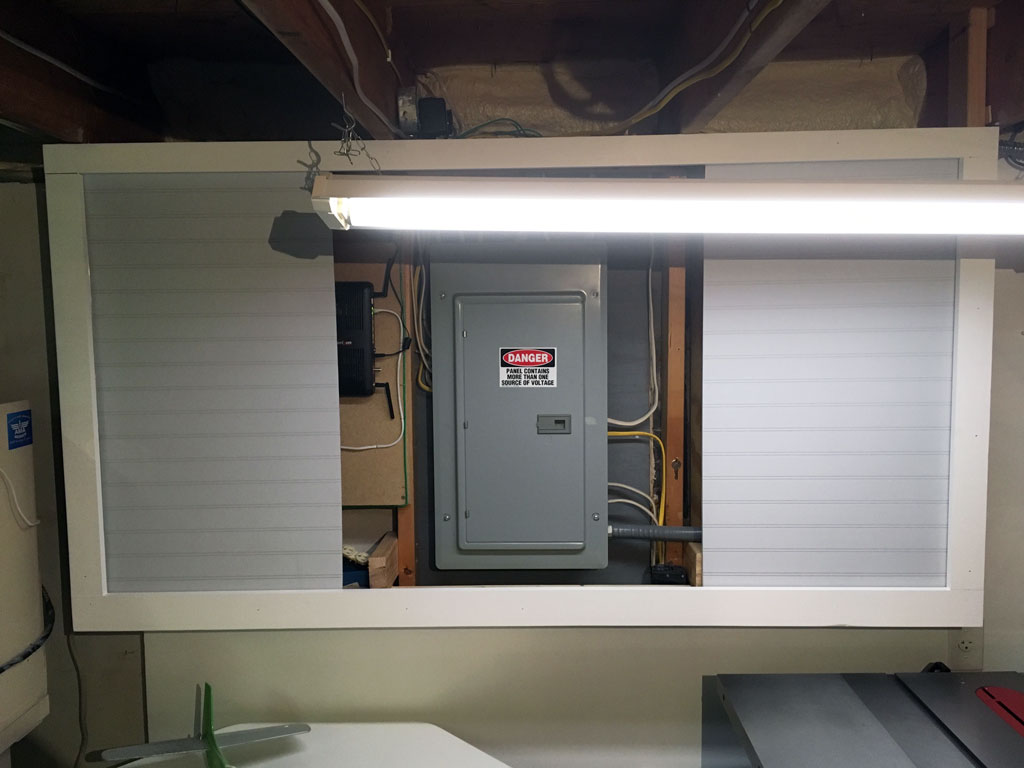
Electrical panel enclosure with sliding doors.
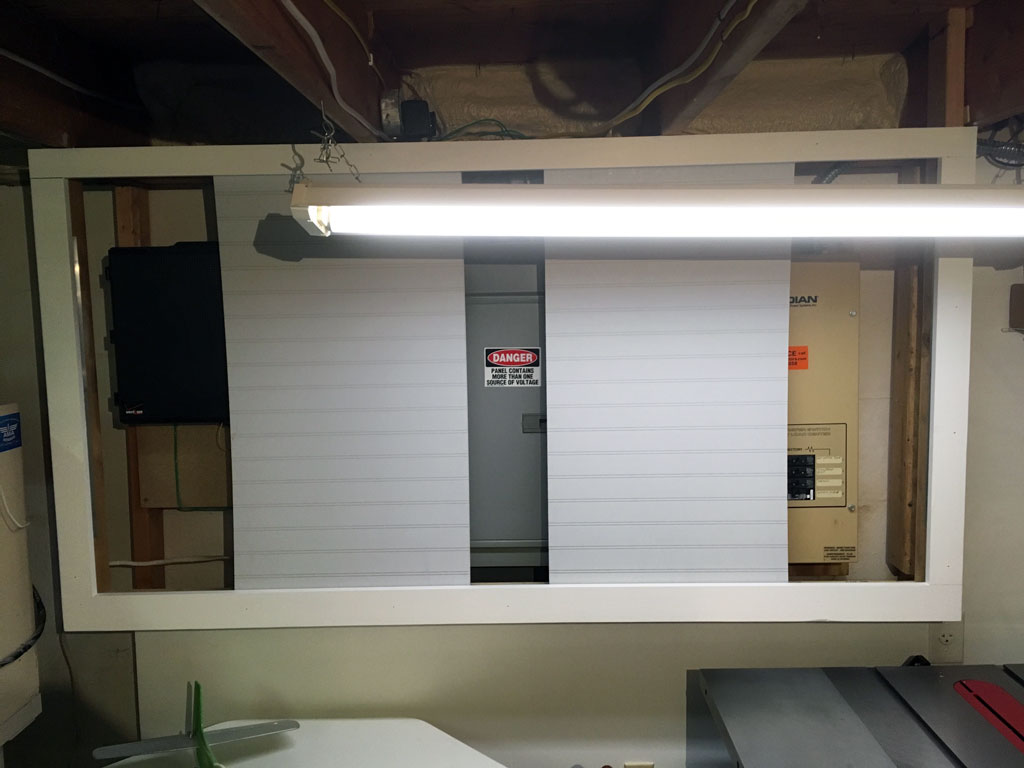
Electrical panel enclosure with sliding doors.
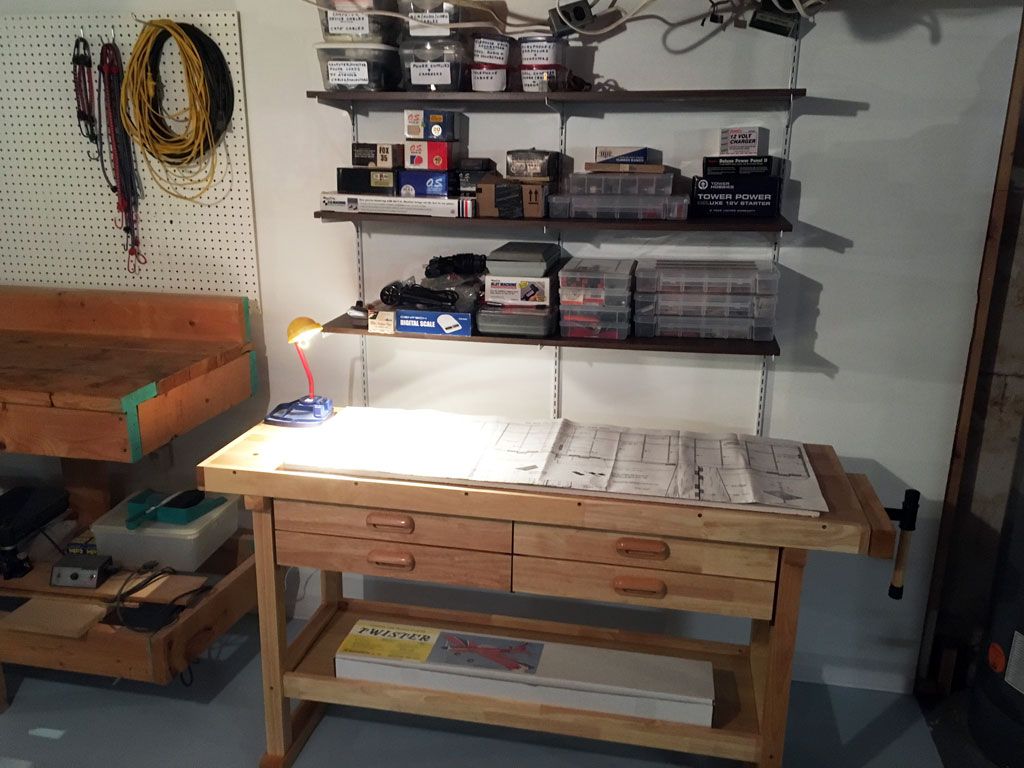
Plane building bench. That is a SIG Control Line TWISTER on the bench. The goal is to have it built by the start of the Spring flying season. More FlyBoyz posts to follow on this.
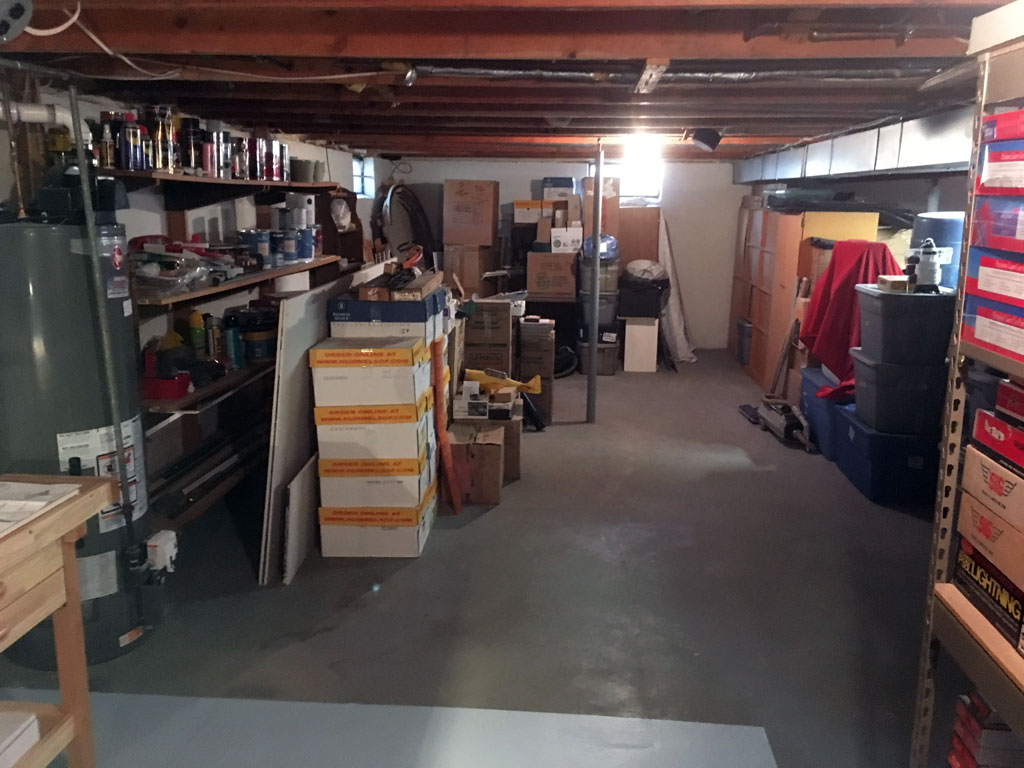
View looking from the workshop into the future HO model train layout room. LOT’S of work to be done here! The row of yellow and blue copy paper boxes in the center of the photo hold HO train rolling stock, engines, structures, scenery supplies, etc…
‘Walking Tour’ video of the current workshop build status.